参考:https://github.com/radishes-music/radishes
看到有blog推荐radishes,一个可以听歌的软件,有网页端,但是没有容器板,所以本文就记录下手戳的过程。

查看官网,发现是npm那一套,所以先准备基础容器。
本来打算直接用hub.docker.com网站的yarn版本,但是搞不清楚他们里面用的啥,而且还没有说明,甚至讨厌。那就从操作系统cengos7.9开始吧。
准备系统容器
FROM centos:7.9.2009

# 基础配置,包括中文环境、时区等
RUN yum install kde-l10n-Chinese -y
RUN yum install glibc-common -y
RUN localedef -c -f UTF-8 -i zh_CN zh_CN.utf8
RUN export LANG=zh_CN.UTF-8
RUN echo "export LANG=zh_CN.UTF-8" >> /etc/locale.conf
ENV LANG zh_CN.UTF-8
ENV LC_ALL zh_CN.UTF-8
RUN ln -sf /usr/share/zoneinfo/Asia/Shanghai /etc/localtime && echo "Asia/Shanghai" > /etc/timezone

# 修改镜像源
RUN rm -rvf /etc/yum.repos.d/*
ADD https://d.op123.ren/d/soft/centos/CentOS-Base.repo /etc/yum.repos.d/
ADD https://d.op123.ren/d/soft/centos/epel.repo /etc/yum.repos.d/

# 安装基础软件
RUN yum install -y vi openssh-clients tar bzip2 gzip curl wget telnet rsync iftop iproute dstat sysstat lrzsz net-tools traceroute tcpdump tshark bind-utils
ADD https://d.op123.ren/d/soft/trzsz/centos/trzsz_with_rzsz /bin/trzsz
ADD https://d.op123.ren/d/soft/trzsz/centos/trz_with_rzsz /bin/trz
ADD https://d.op123.ren/d/soft/trzsz/centos/tssh_with_rzsz /bin/tssh
ADD https://d.op123.ren/d/soft/trzsz/centos/tsz_with_rzsz /bin/tsz
RUN chmod a+x /bin/*

# 清理缓存文件
RUN yum clean all ; rm -rvf /var/cache/yum/*

# 启动命令
CMD ["/bin/bash"]
version: "3"
services:
centos7:
image: op123/centos7.9.2009:cn-20231226
build:
context: ./
dockerfile: Dockerfile
container_name: centos7
networks:
centos7-network:
ipv4_address: 192.168.71.31
networks:
centos7-network:
driver: bridge
ipam:
config:
- subnet: 192.168.71.0/24
准备node容器
FROM docker.io/op123/centos7.9.2009:cn-20231226

# 安装依赖
RUN yum -y update && \
    yum install -y curl

# 安装nvm,node和npm
ENV NVM_DIR /root/.nvm
ENV NODE_VERSION 17

# 安装依赖和nvm
RUN curl -o- https://raw.githubusercontent.com/nvm-sh/nvm/master/install.sh | bash

# 安装Node.js和npm,并设置nvm环境变量
RUN . $NVM_DIR/nvm.sh && \
    nvm install $NODE_VERSION && \
    nvm use $NODE_VERSION && \
    nvm alias default $NODE_VERSION

# 将node和npm的路径添加到PATH环境变量中
ENV PATH $NVM_DIR/versions/node/v$NODE_VERSION/bin:$PATH

# 安装Yarn并设置国内镜像源
RUN . ~/.bashrc && \
    npm install -g yarn && \
    npm config set registry https://registry.npm.taobao.org && \
    yarn config set registry 'https://registry.npm.taobao.org'
version: "3"

services:
  npm:
    image: op123/centos7.9.2009:cn-20231226-npm
    build:
      context: ./
      dockerfile: Dockerfile
    container_name: npm
    networks:
      npm-network:
        ipv4_address: 192.168.72.31

networks:
  npm-network:
    driver: bridge
    ipam:
      config:
        - subnet: 192.168.72.0/24
制作radiehes容器
FROM op123/centos7.9.2009:cn-20231226-npm
ADD radishes /app/radishes
WORKDIR /app/radishes

RUN cd /app/radishes
RUN . ~/.bashrc && \
    yum install -y xdg-utils bzip2 && \
    nvm install 16 && \
    nvm use 16 && \
    nvm alias default 16 &&\
    corepack enable &&\
    corepack prepare yarn@3.6.4 --activate &&\
    ./mirrori.sh \

ENV NVM_DIR "/root/.nvm"
EXPOSE 3000
ENTRYPOINT ["yarn","dev"]
#ENTRYPOINT ["sleep","1200"]
version: "3"

services:
  radishes:
    image: op123/centos7.9.2009:cn-20231226-npm-radishes-20231226
    build:
      context: ./
      dockerfile: Dockerfile
    container_name: radishes
    networks:
      radishes-network:
        ipv4_address: 192.19.4.31
    entrypoint:
      - sh
      - -ec
      - |
        source ~/.bashrc || echo '遇到了一点麻烦'
        sed -i 's#http://localhost:32768#socks://xxx:47892#g' vite.config.js
        sed -i 's#httpp://localhost:32768#socks://xxx:47892#g' vue.config.js
        yarn dev
        #sleep 3600


networks:
  radishes-network:
    driver: bridge
    ipam:
      config:
        - subnet: 192.19.4.0/24
过程还挺复杂,遇到了几个问题。
- hk的云主机根分区容量不够,换到另一个hk云主机。另外,安装环境的时候,yarn的版本是个问题。
参考:https://v3.yarnpkg.com/getting-started/install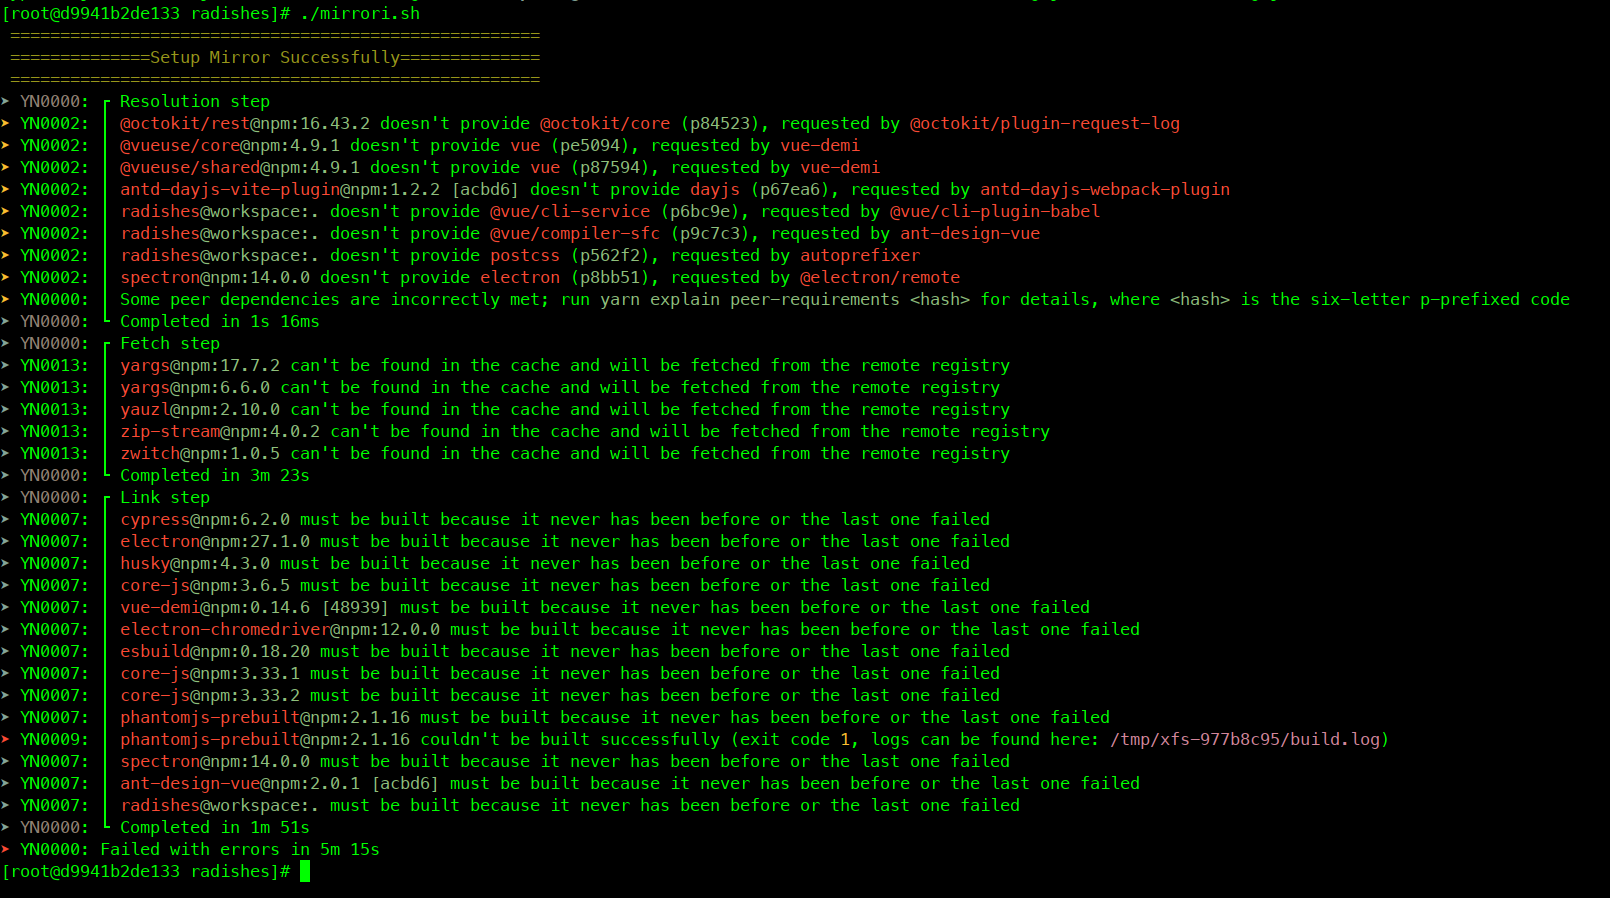

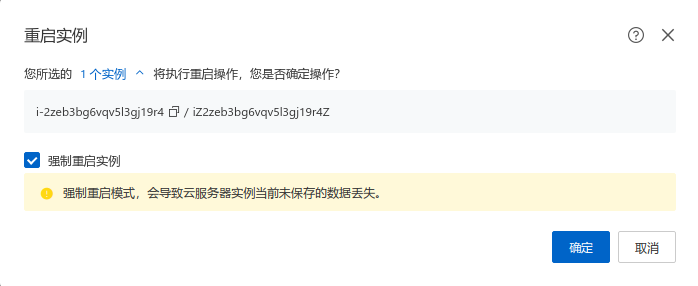
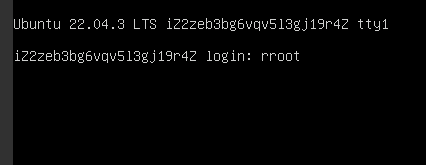
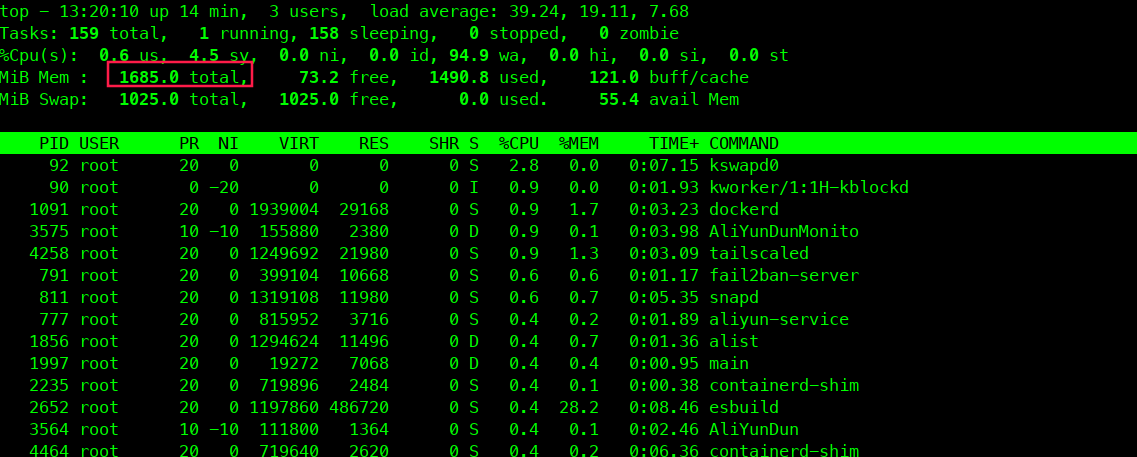
- 打好镜像传回国内,可是内存2GB不够它用的。然后放回了本地。
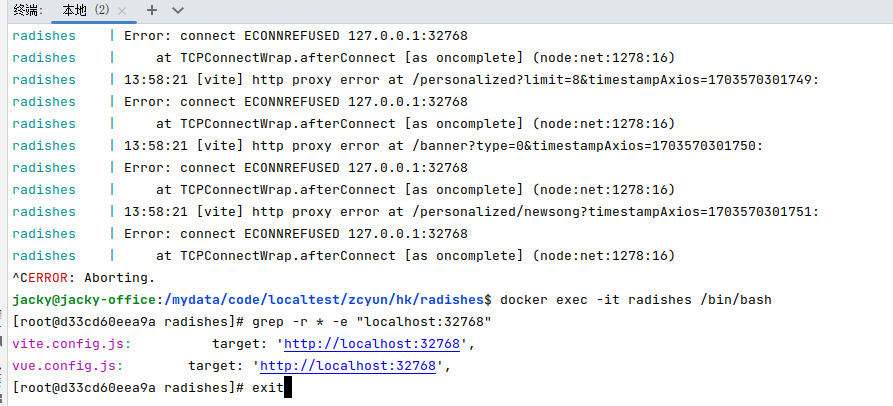
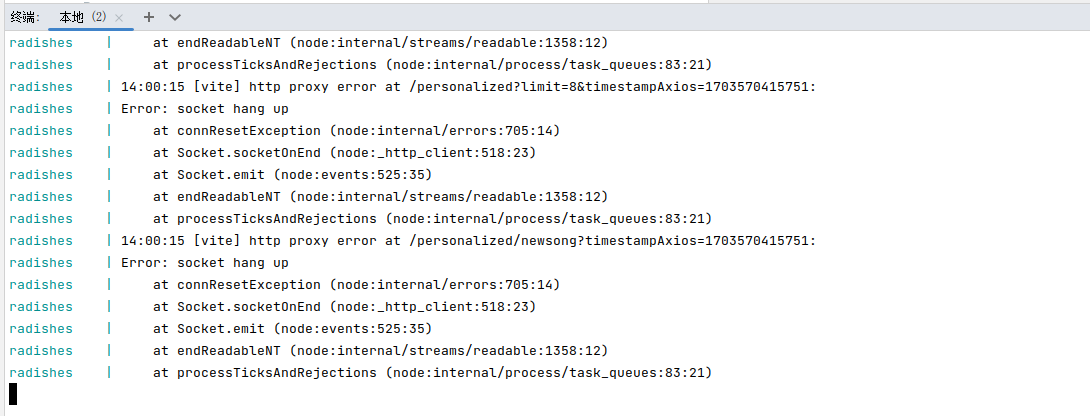
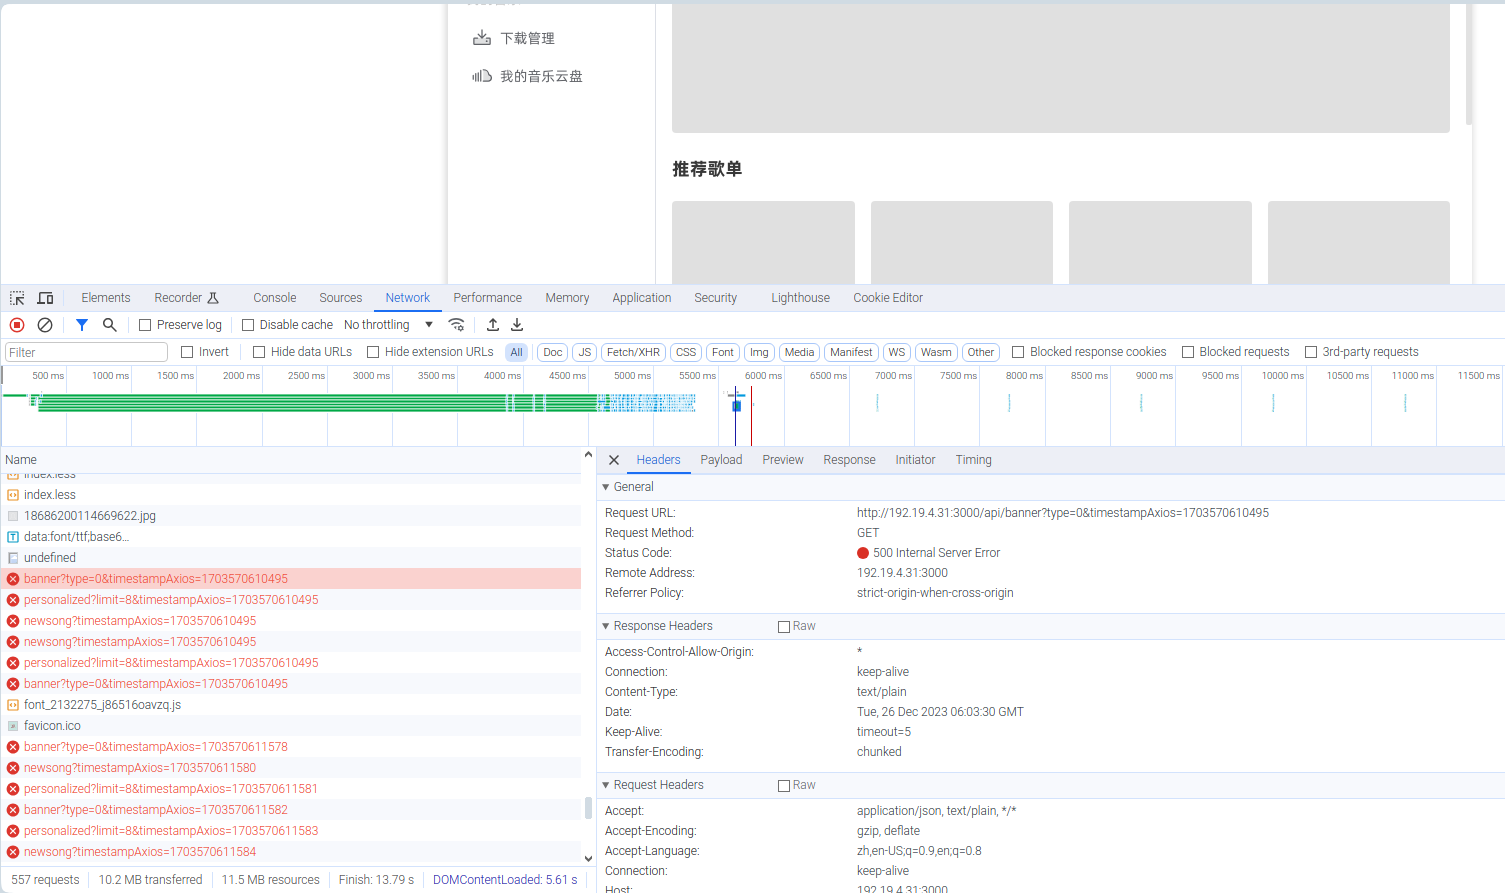
- 本地运行,好像还需要proxy,里面vite.config.js和vue.config.js内容包括http://localhost:32768的代理,改成本地代理也不生效。
