一、前提叙述
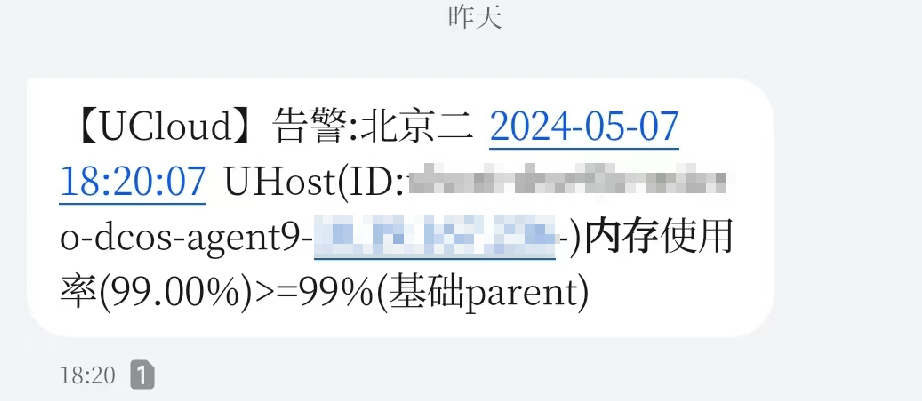
5月7日下班后,抽了两根烟,转眼一看来了报警,内存超99%。我嘞个去,这还了得。
抽完烟,上楼开始处理。
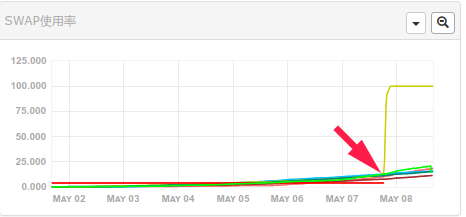
打开terminal,开启堡垒机,登录服务器。一看,不算buffer和cache,还剩下200MB,而且swap已经开始使用了。一般swap开始使用,说明内存分配已经多少有点问题了。
造成这种现象跟我配置的Xmx的大小有关。该云主机半个月前缩减配置,整机32GB内存,给Xmx设置成了30GB,等于是还有2GB需要给到categraf、promtail等服务器探针以及其他程序使用。如果分成25GB会好很多。
使用yum安装smem并且执行查看RES才9GB。此时稍微动一动,SWAP会有大的变化。
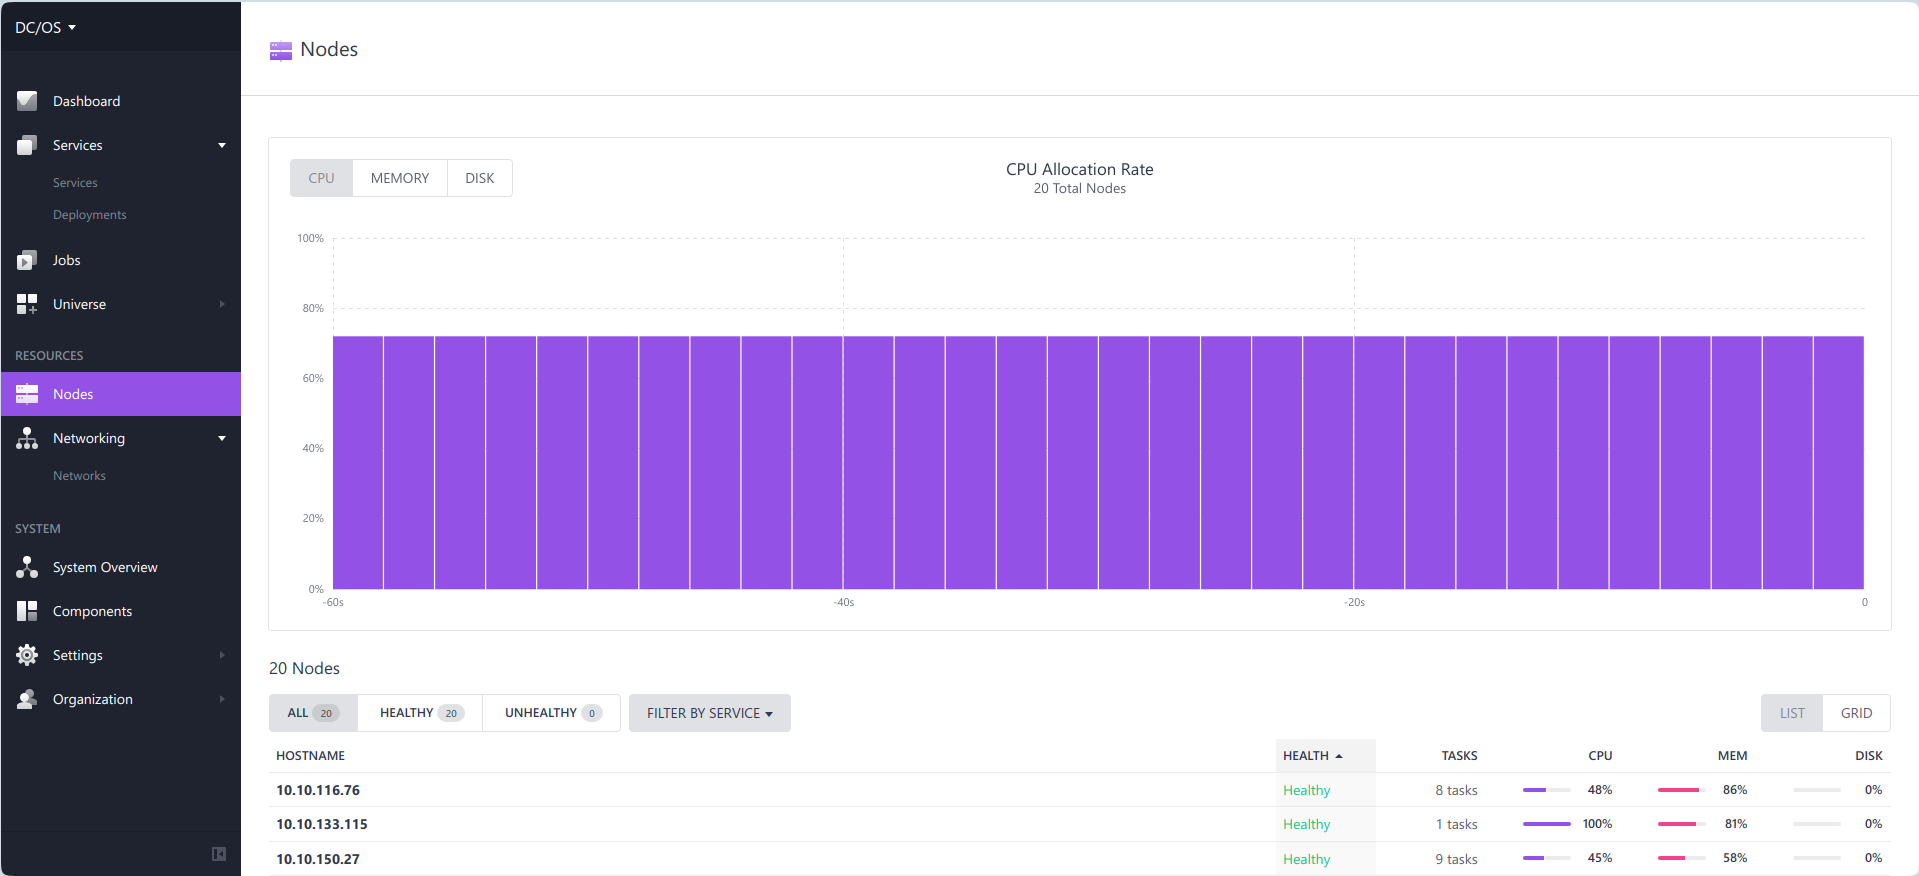
思考一下,准备关机然后加内存,还得调整容器JAVA进程的Xmx和Xms配置。顺手打开DCOS集群控制台,没想到无法登录,使用google github和microsoft都无法登录。我嘞个去。这是啥情况。
经过一番折腾,发现不是由于auth0.com或者dcos.auth0.com无法在国内访问导致,而是auth0.com提供的服务不返回正确的数据。
尝试到github禁用了登录还是无法登陆。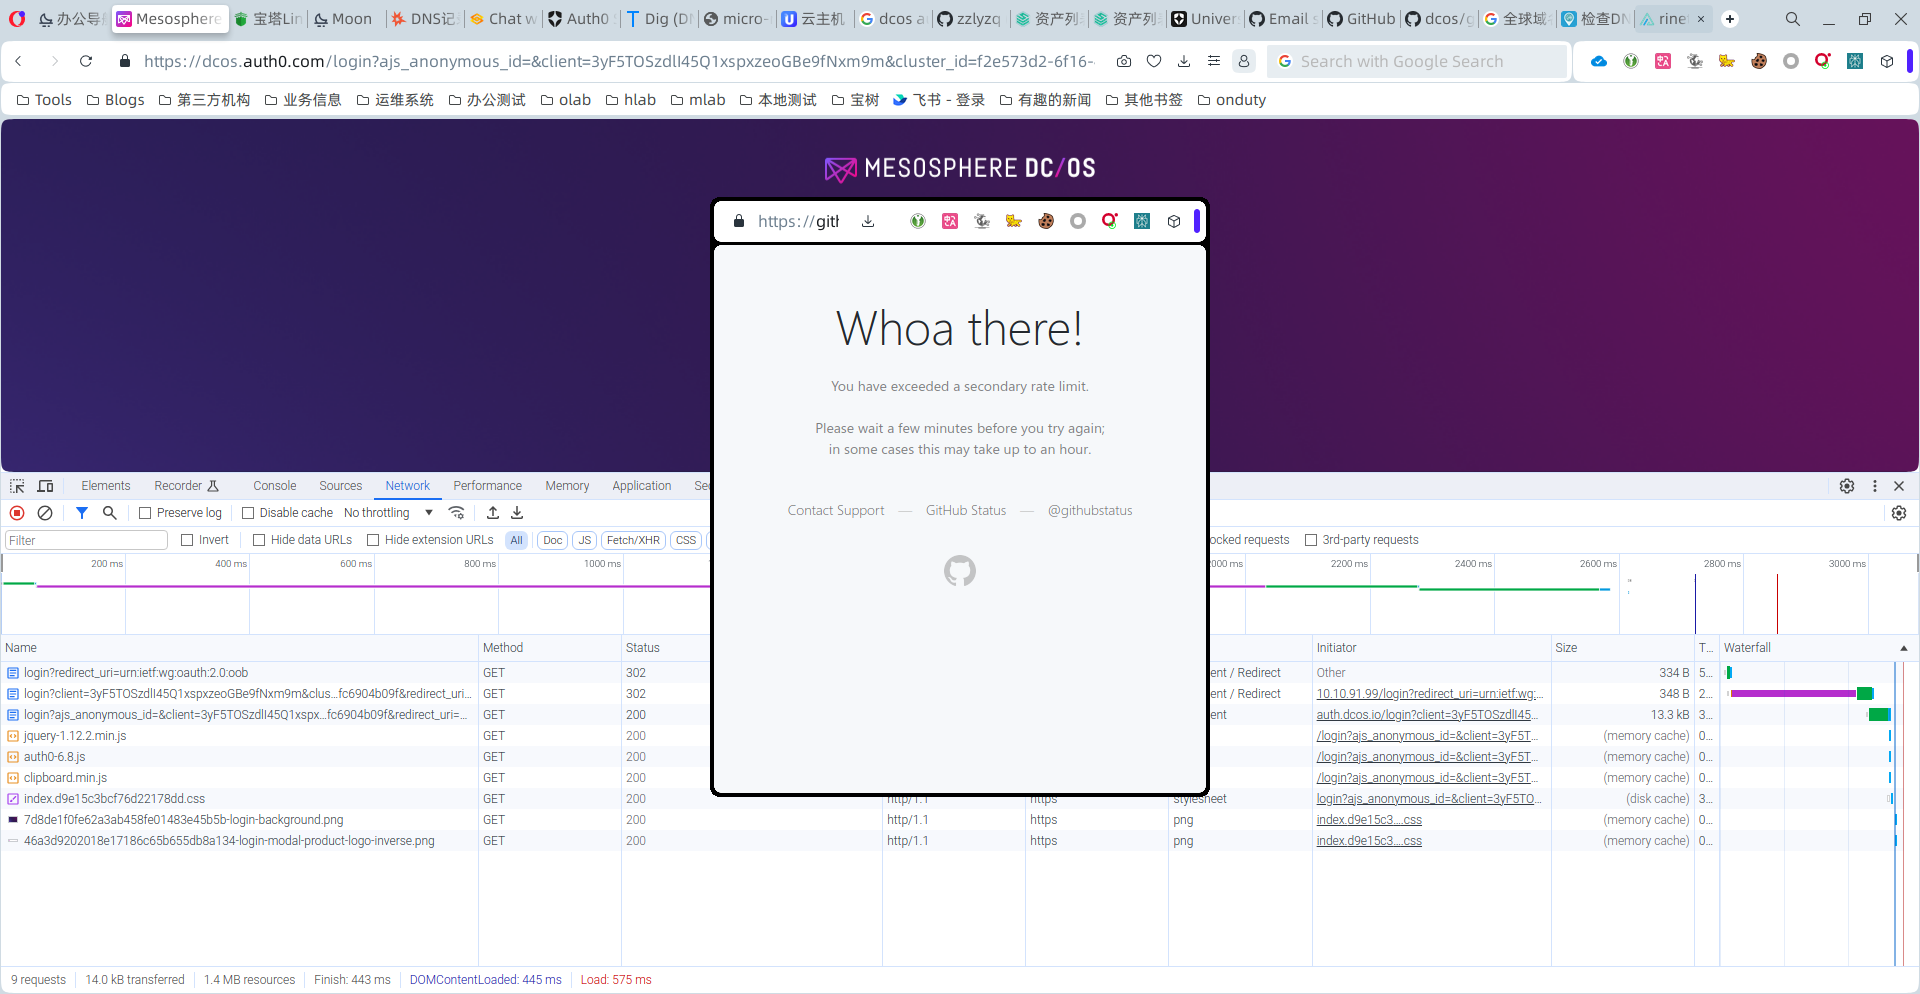
想了想,搜索一下吧。没想到还真有发现。这大兄弟也是今天在auth0.com的网站里面提的问,无法登录。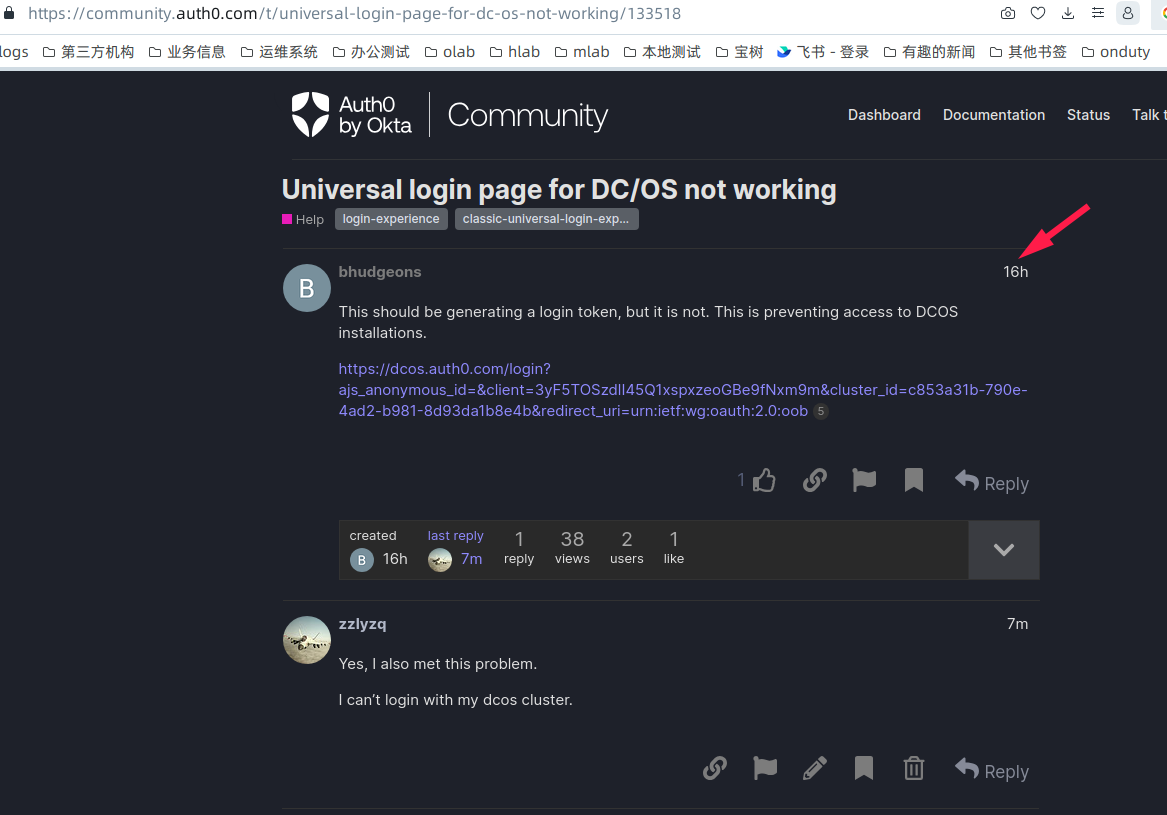
后来,根据dcos的相关联系方式,找到了他们的slack频道。而且,有人已经在4天前发现了这个问题,现象与俺这里的一样。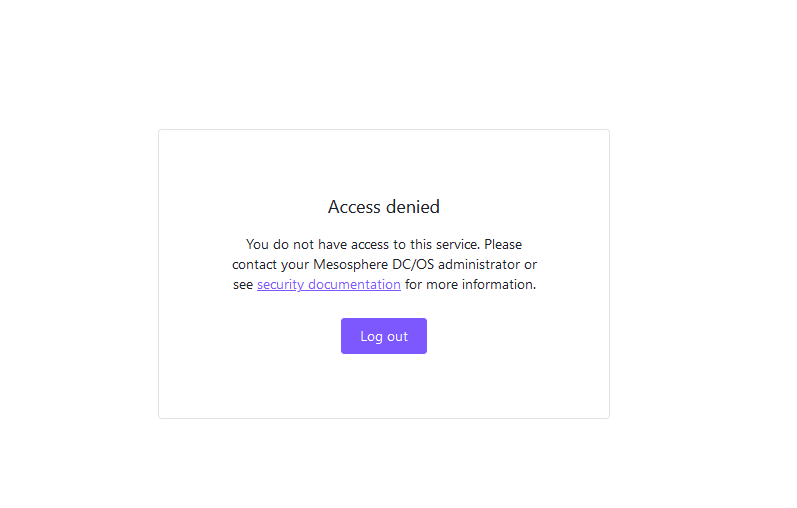
经过查看里面的大神聊天记录,发现了一个有用的信息。DCOS集群虽然可以通过master节点ip+80端口进行登录,还可以通过master节点+8080端口无需验证也可以登录。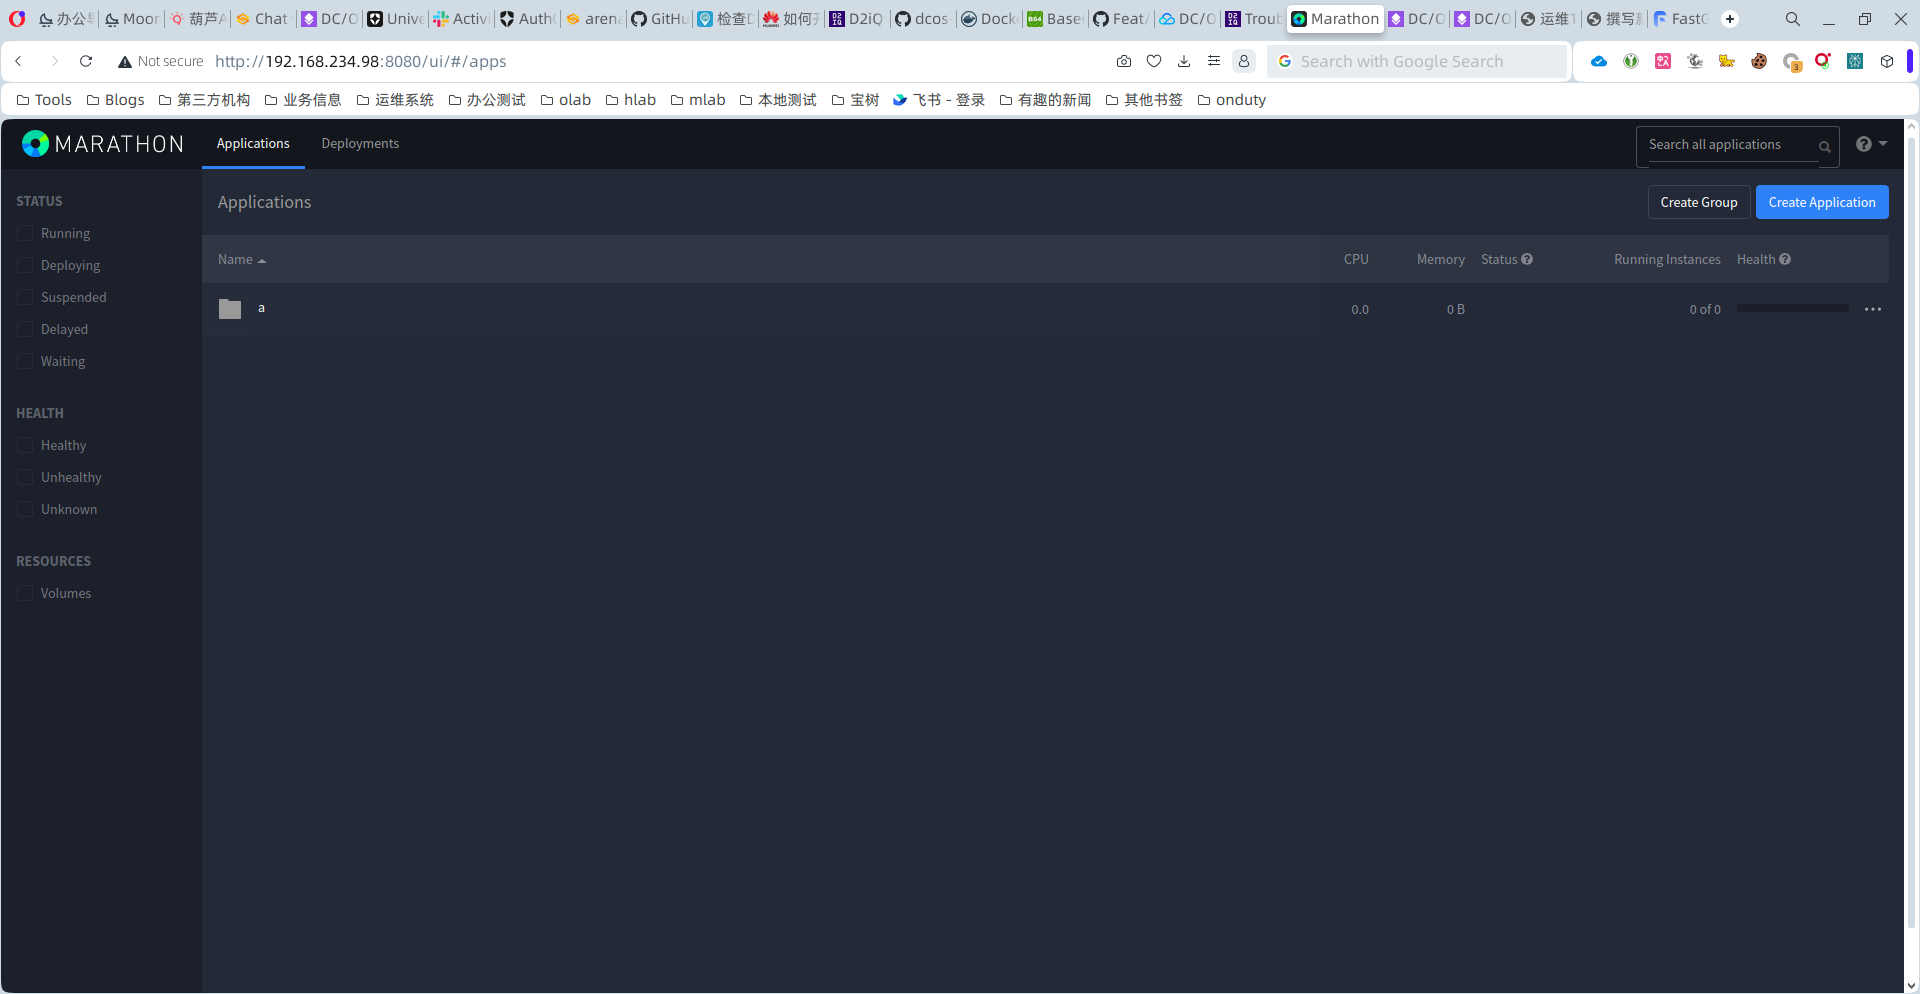
经过测试,这个8080端口的服务也可以对服务进行配置修改。如此以来,起码有个临时可用的方案了。
继续看大神的聊天,发现他们的DCOS版本已经可以有本地用户了。经过询问,大神第二天发来了一个github docs链接。看来,对方使用的是2.X版本,而俺的版本是1.9版本。尝试按照官方的提示下载了所有的docs文件并在本地做了站点。
version: "3.1"
services:

  dcos-docs:
    container_name: dcos-docs
    image: mesosphere/archived_docs:latest
    ports:
      - 30080:80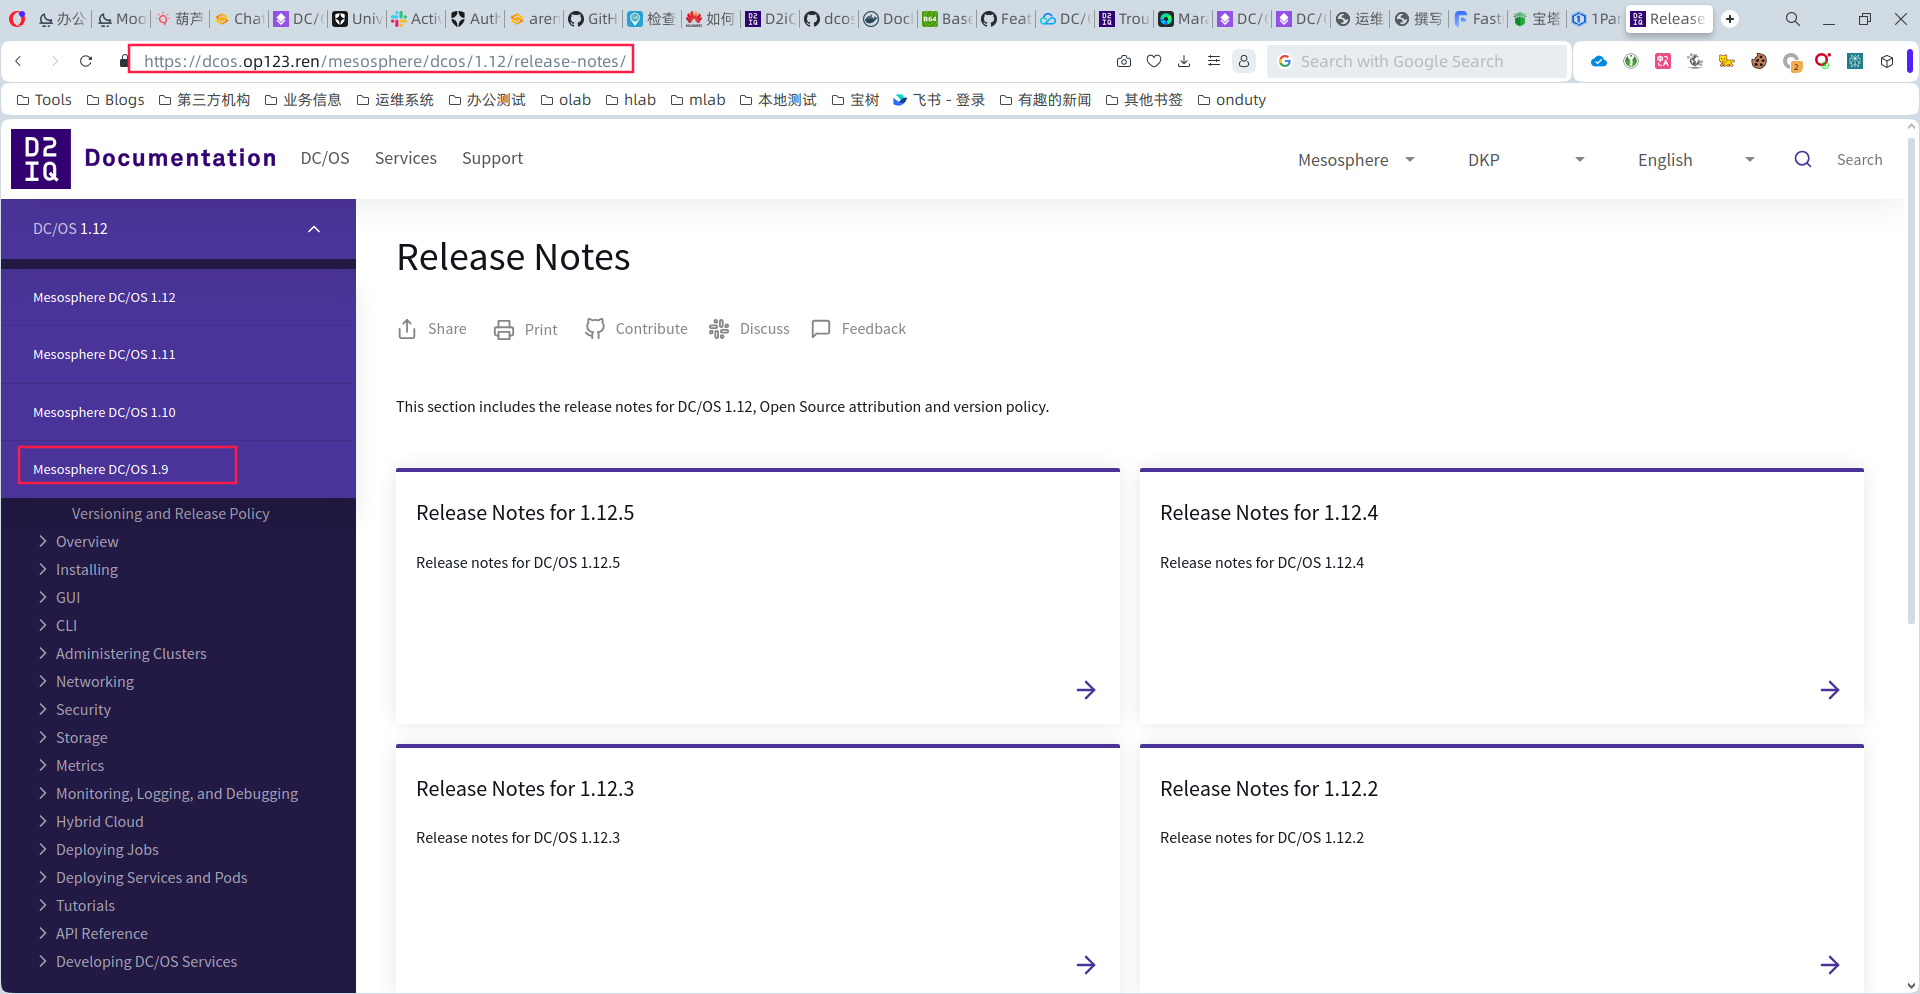
不过,在相关的目录里面,依旧没有找到本地用户的说法。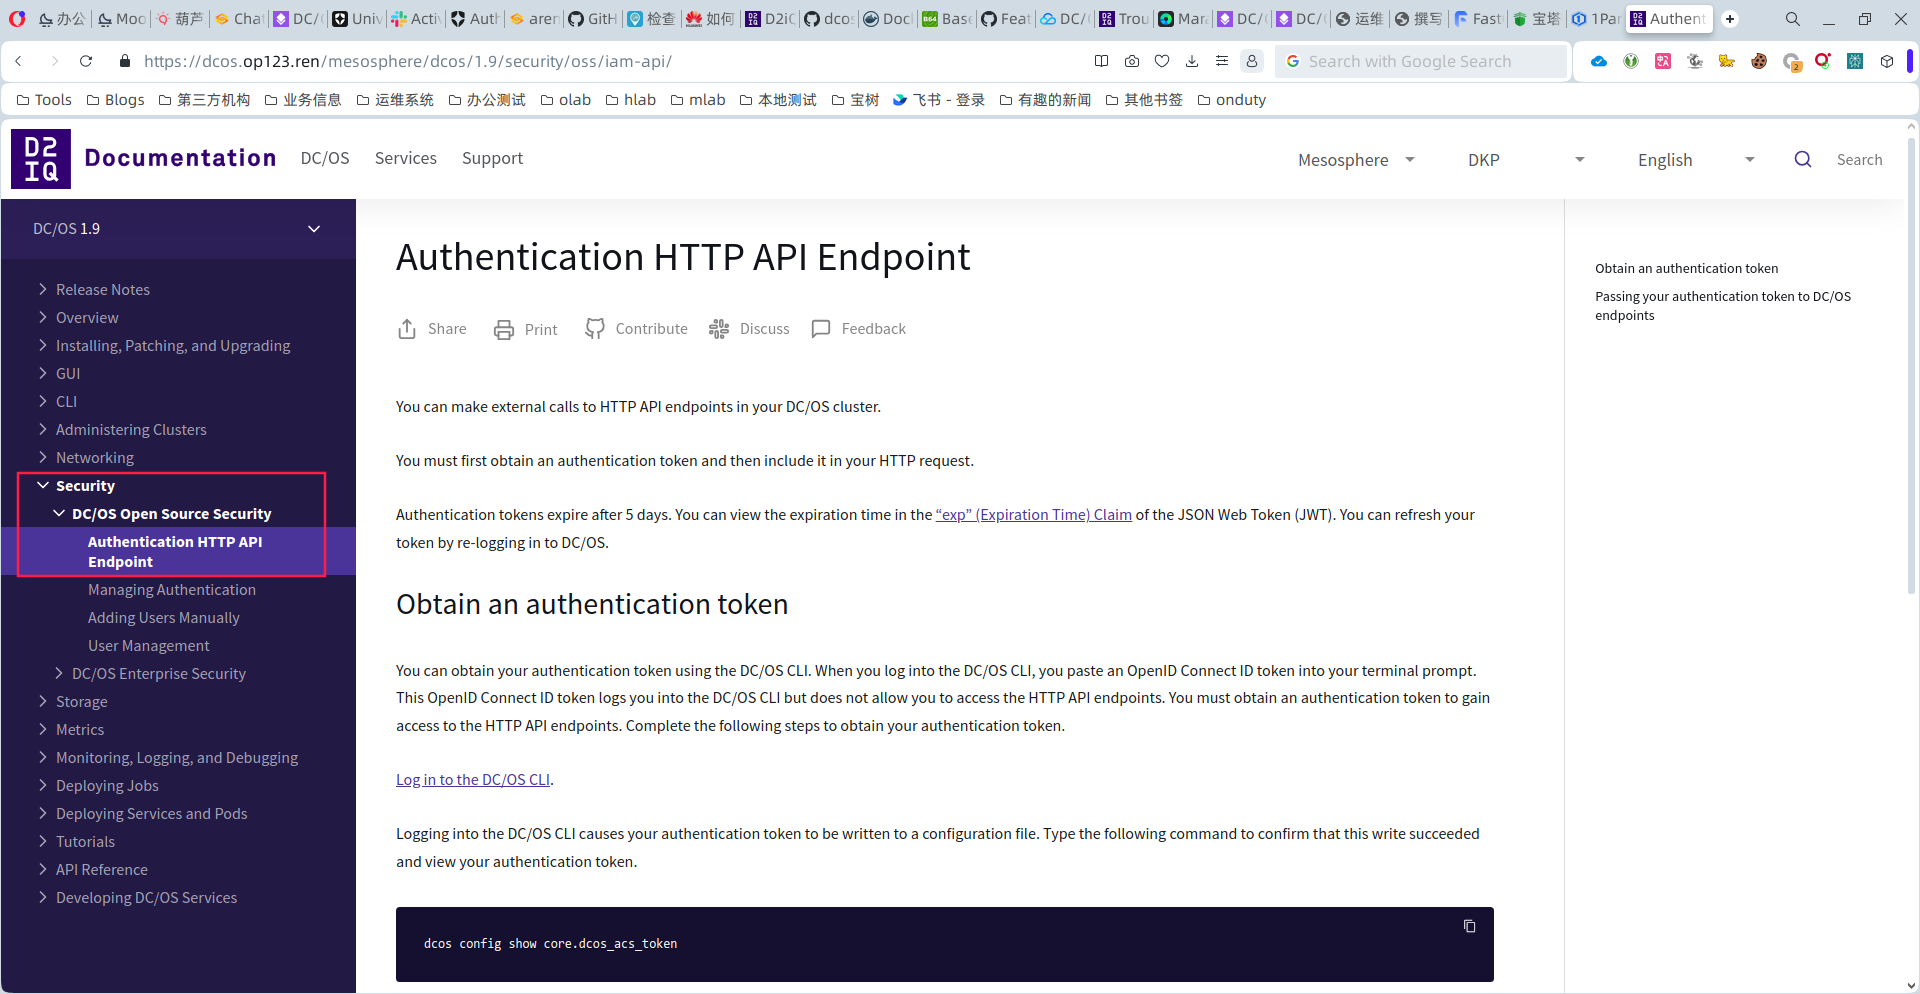
这是让人失望。
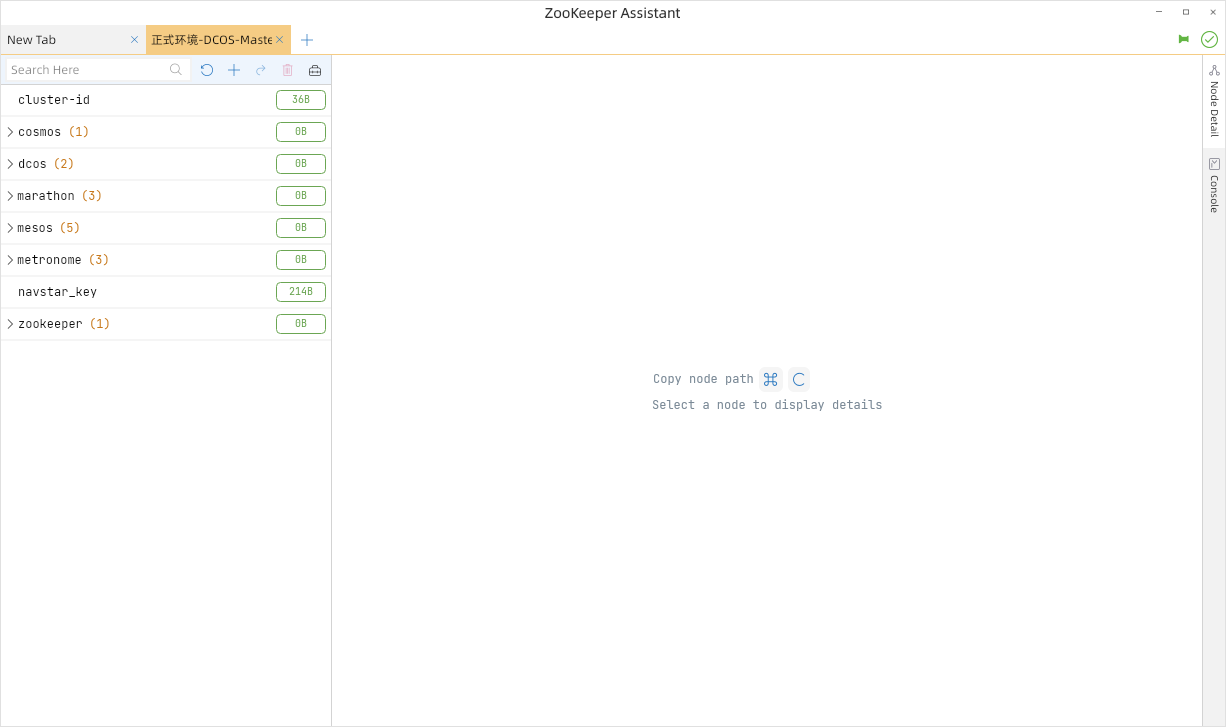
尝试连接了DCOS的ZK节点,可以连接,可以查看,看到了已经配置的外部账号邮箱列表,但是依旧没有其他禁用oauth的相关配置。
二、峰回路转
既然无法增加本地账号,是否可以去掉验证呢?开始本地测试吧。
好在之前做过视频,根据视频找到了之前写过的本地文档。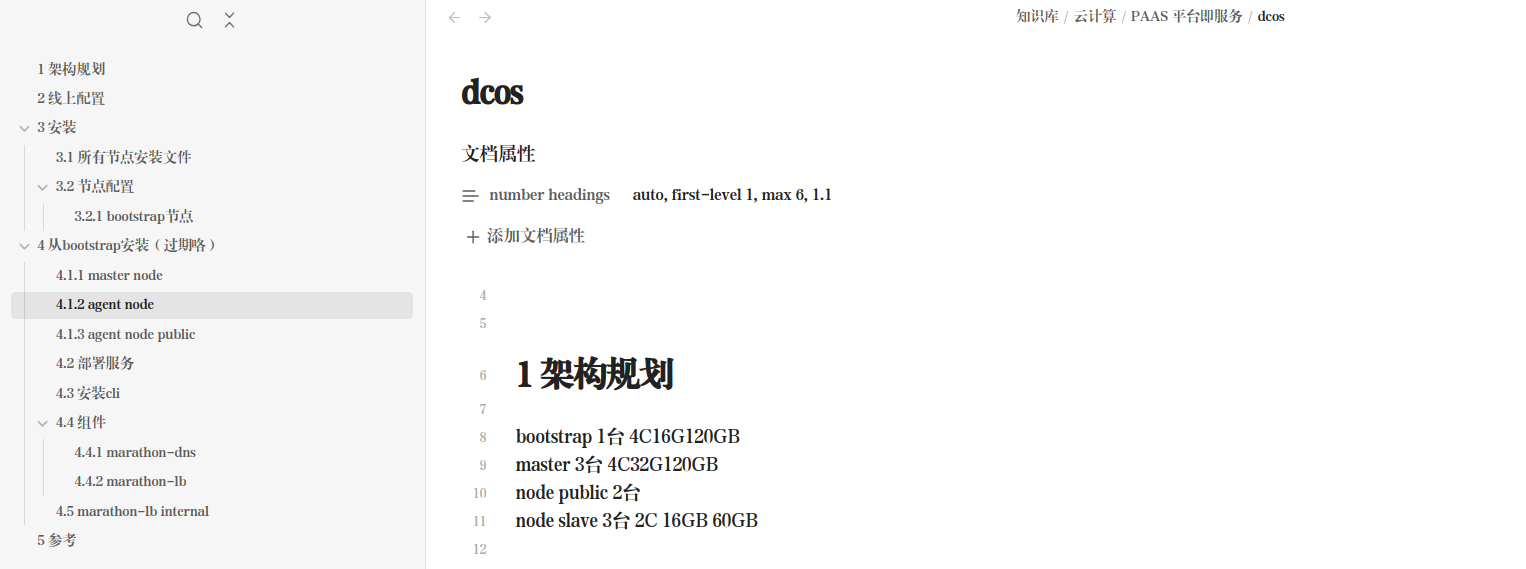
2.1 第一次测试 安装DCOS集群 不带oauth认证
(1)准备机器
192.168.234.167 bootstrap
192.168.234.98 master1
192.168.234.102 master2
192.168.234.169 master3
192.168.234.174 master4
192.168.234.175 master5
192.168.234.170 slave
192.168.234.171 slave_public
(2)配置bootstrap节点
# 准备配置文件
cat <<EOF>/opt/dcos/genconf/config.yaml
bootstrap_url: http://192.168.234.167:80
cluster_name: dcosTest
exhibitor_storage_backend: static
master_discovery: static
oauth_enabled: 'true'
ip_detect_path: ./genconf/ip-detect
master_list:
- 192.168.234.98
- 192.168.234.102
- 192.168.234.169
resolvers:
- 114.114.114.114
EOF

# 生成DCOS安装文件
cd /opt/dcos/
sudo bash dcos_generate_config.sh

# 开启http服务,用于DCOS master和slave节点进行下载安装
sudo docker run -d -p 80:80 -v /opt/dcos/genconf/serve:/usr/share/nginx/html:ro harbor.test.stesh.cn/nginx/nginx:latest
(3)配置master节点
# 解药。一旦安装出错,或者bootstrap参数调整需要master重装,就先执行下面这个。
rm -rf /opt/mesosphere*
rm -rf /var/lib/zookeeper
rm -rf /var/lib/dcos
rm -rf /etc/mesos*
rm -rf /opt/dcos-prereqs.installed
rm -rf /etc/systemd/system/dcos*
rm -rf /usr/lib/systemd/system/marathon.service
systemctl daemon-reload
reboot

# 增补参数
可能会遇到日志报错,提示没有docker或者nogroup在/etc/group里面。
经过实地查看,确实安装的docker1.13后,/etc/group文件里面有dockerroot,没有docker。我们只需要复制这行,gid啥的不用变,只要把dockerroot改成docker就可以了。如果没有nogroup这样,直接添加nogroup这行,gid设置成1000。
dockerroot:x:994:
docker:x:994:
nogroup:x:1000:


# 安装master
mkdir -p /opt/dcos ; cd /opt/dcos ; rm -rvf *
curl -O 192.168.234.167:80/dcos_install.sh
bash dcos_install.sh master
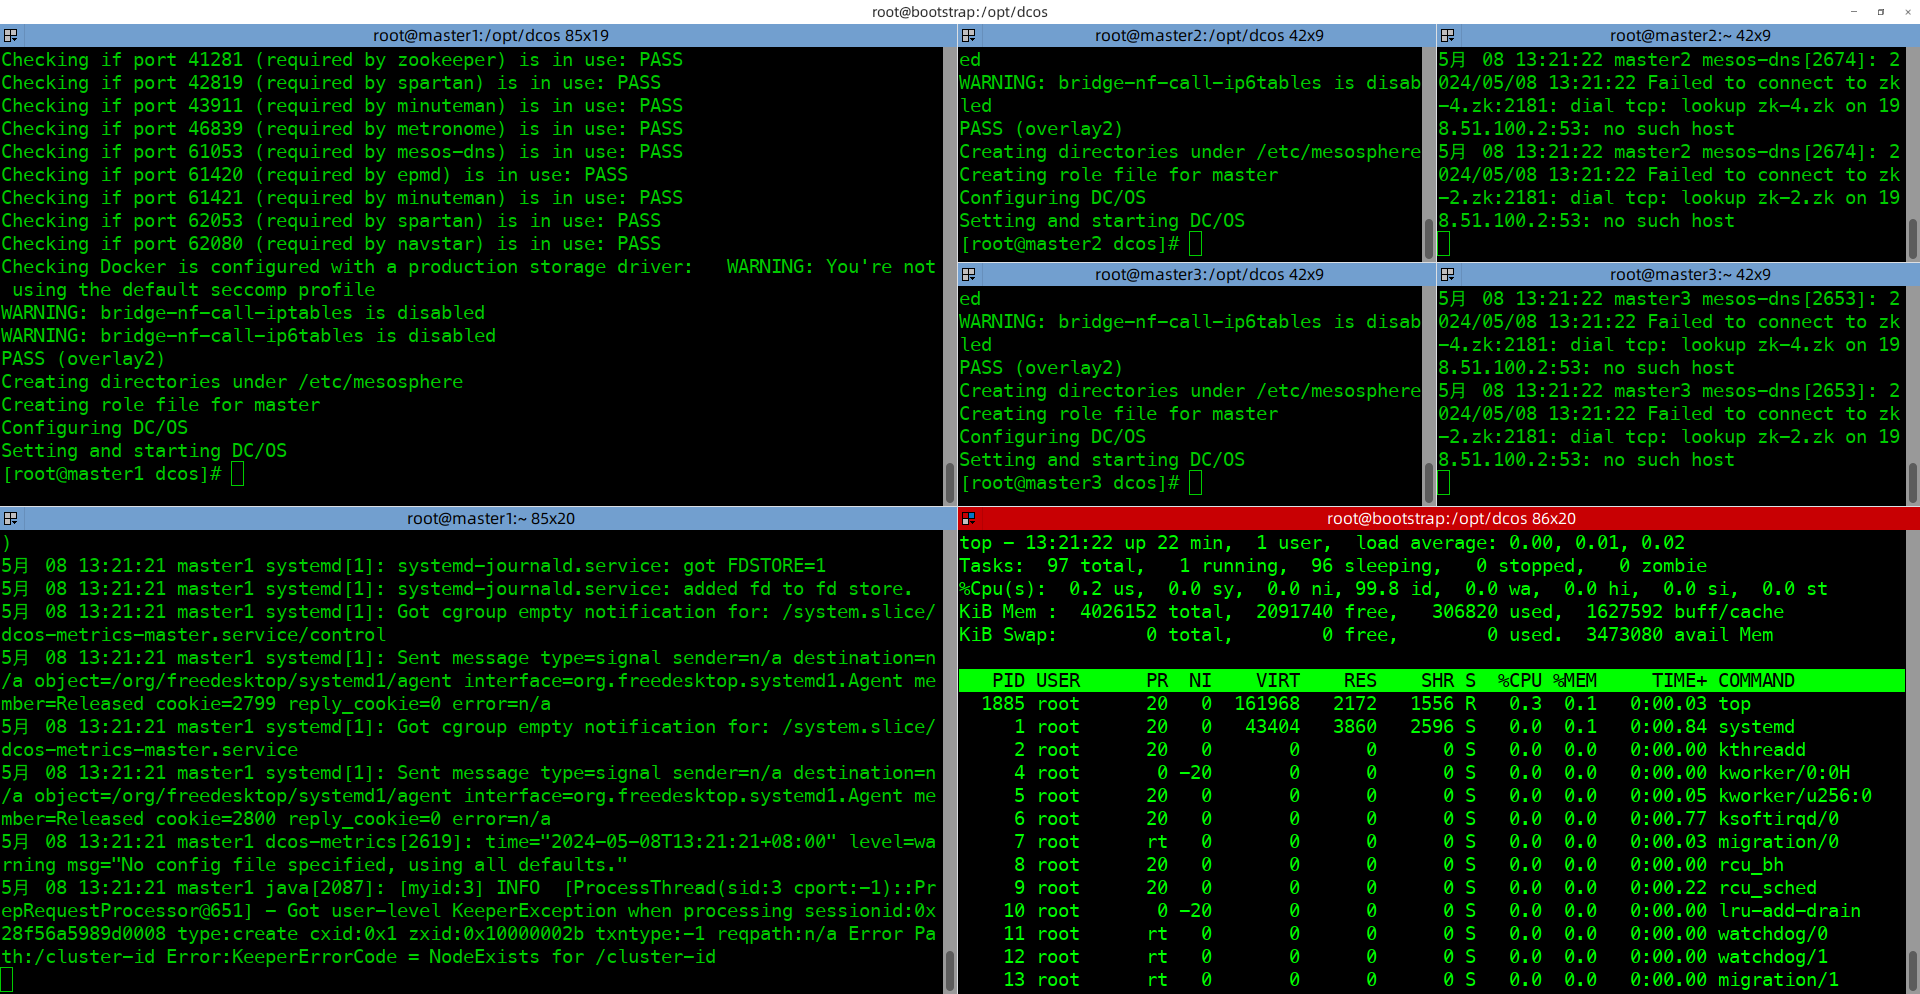
过一会儿会出现80端口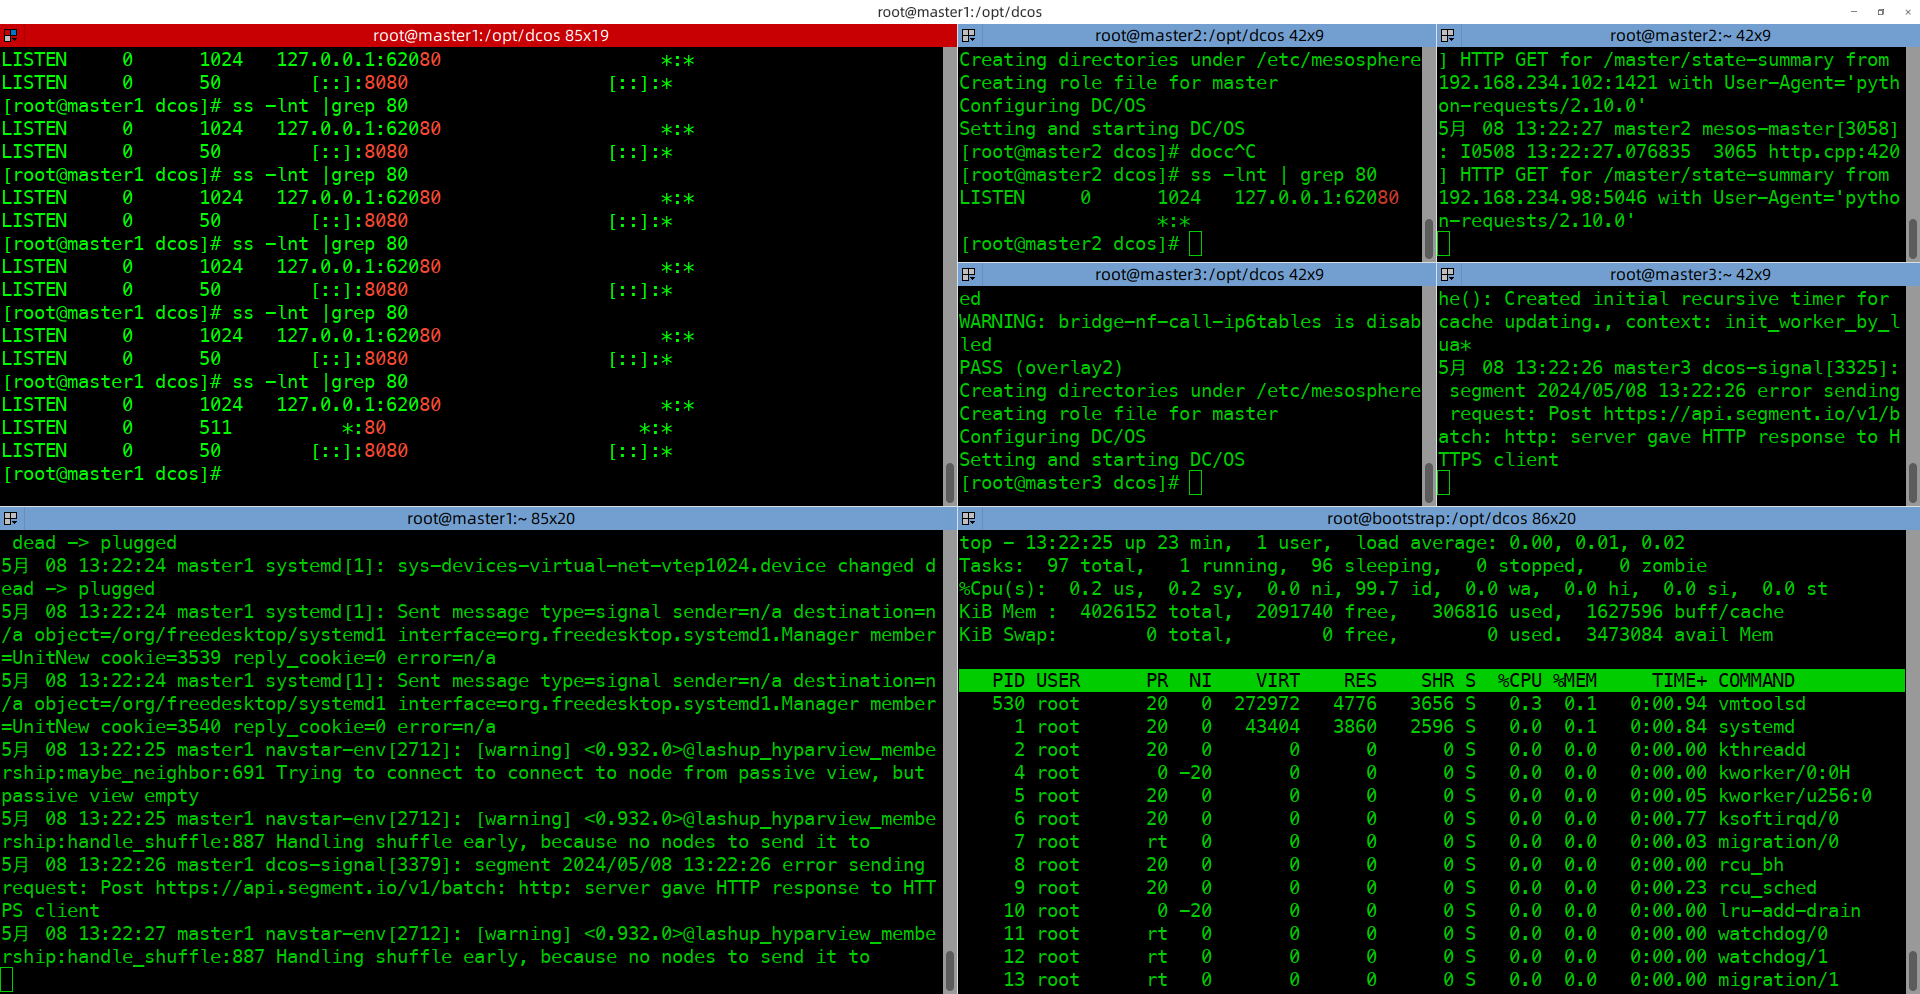
然后可以打开页面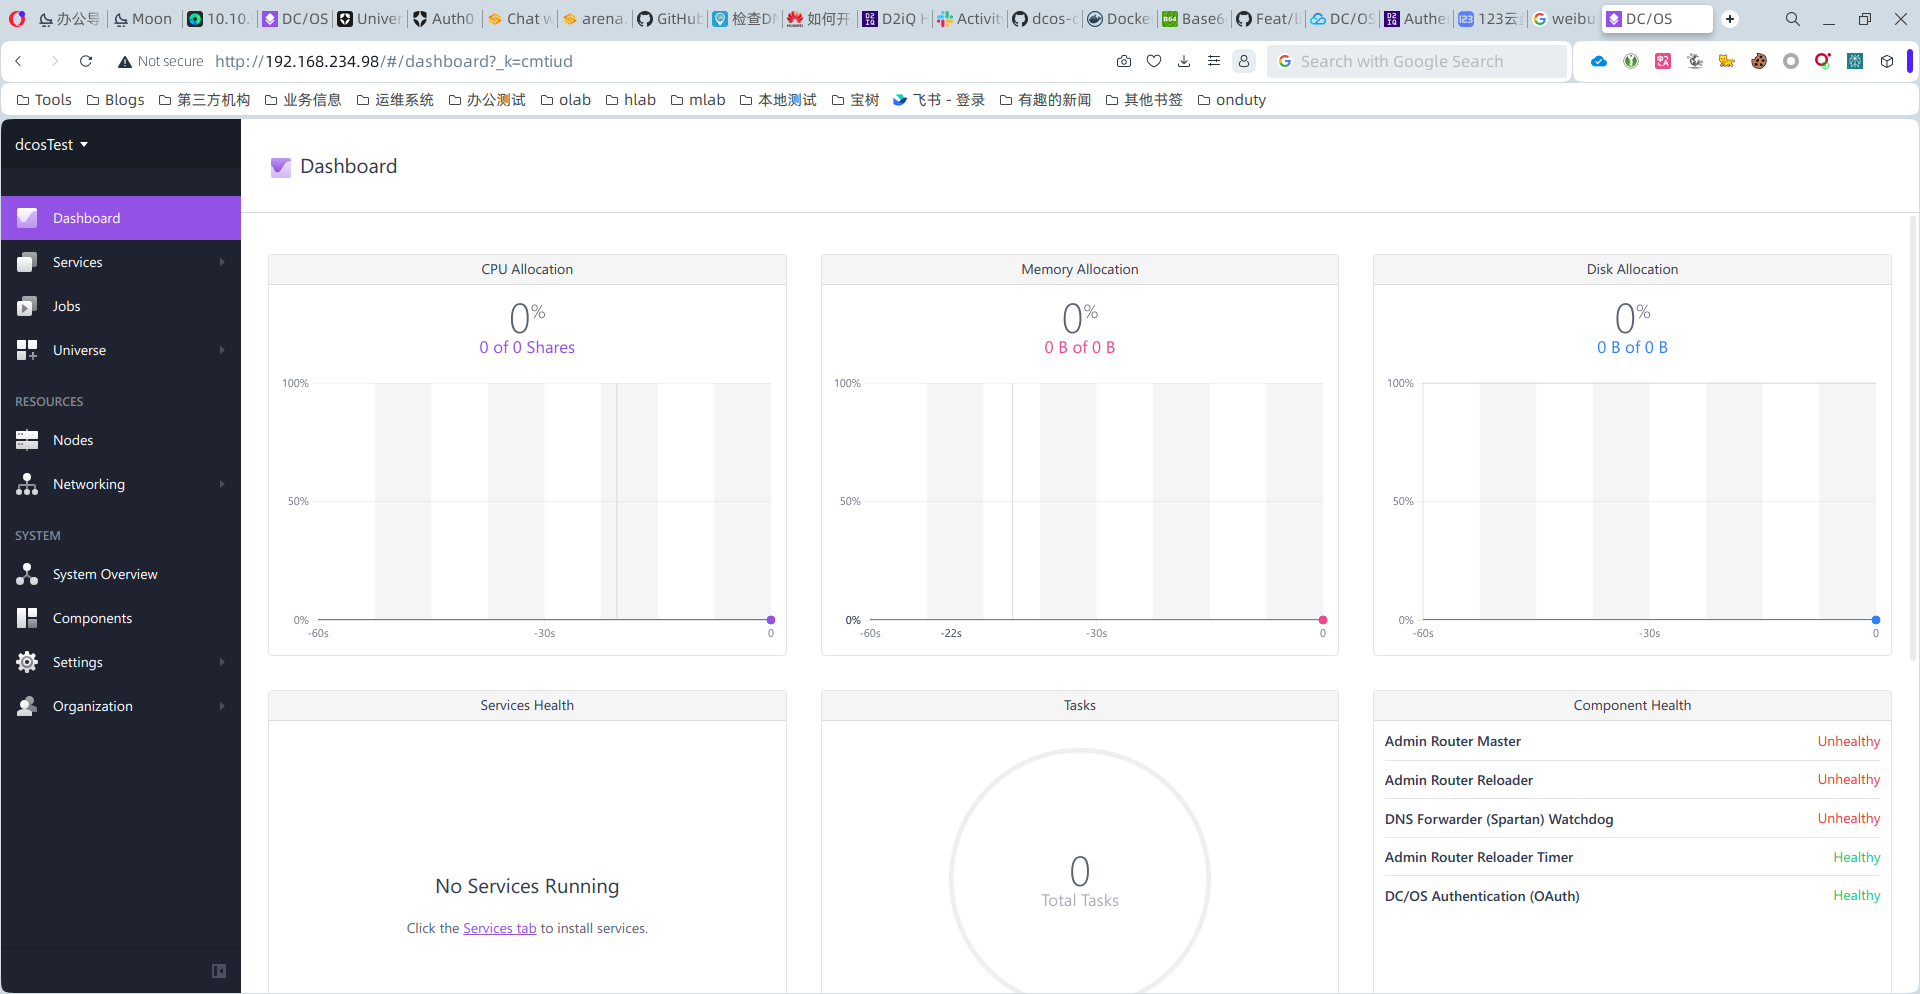
(4)安装dcos客户端工具
# 下面这个dcos是1.9的版本
wget https://d2.sddts.cn/d/download/dcos/dcos -O dcos &&
sudo mv dcos /bin/ &&
sudo chmod +x /bin/dcos &&
dcos config set core.dcos_url http://192.168.234.98 &&
dcos
2.2 安装DCOS集群 带oauth认证
安装过程与上述一致,只是在最开始的bootstrap配置文件中,将oauth后面的false改成true。
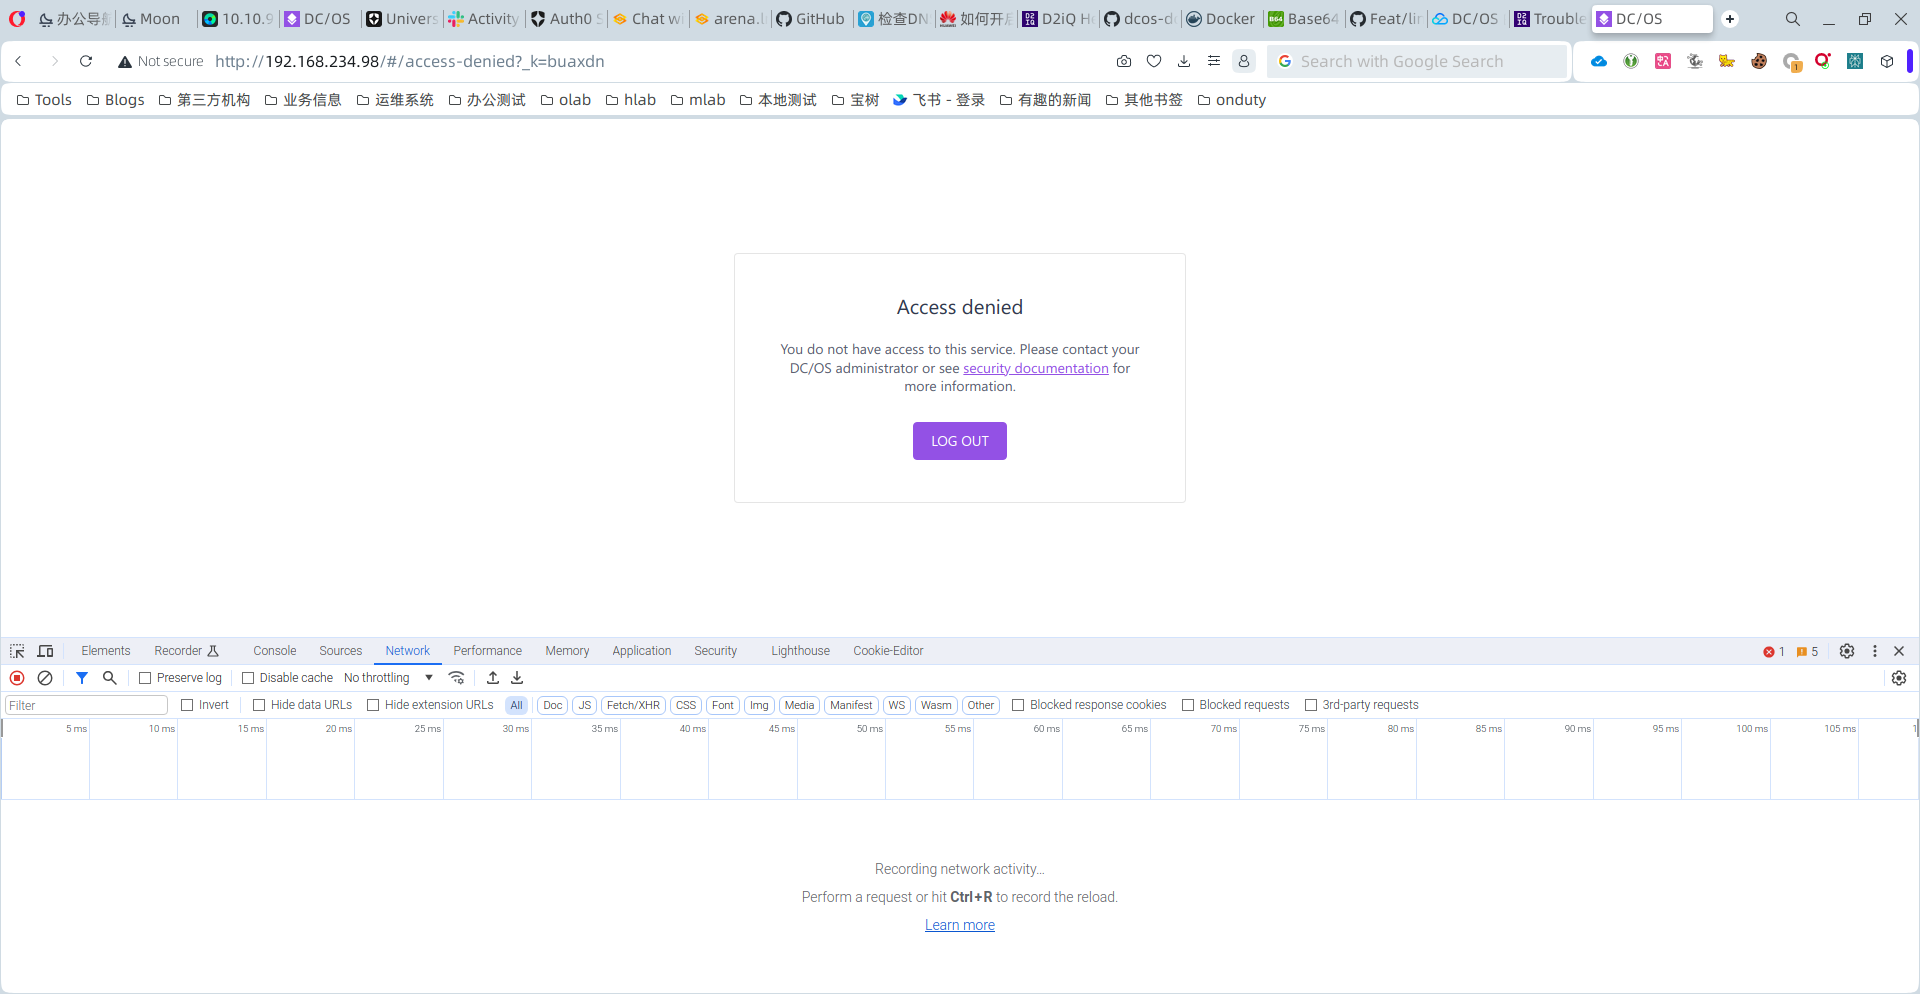
同样的结果,无法登录。
2.3 增加DCOS master节点 不带oauth认证
是否可以增加1台master节点,不带oauth认证呢?不行,master的数量需要是奇数。所以,增加了2台。
安装之后,确实可以页面,包括master节点信息等,但是无法查看service或者deployment等。还是认证的问题。
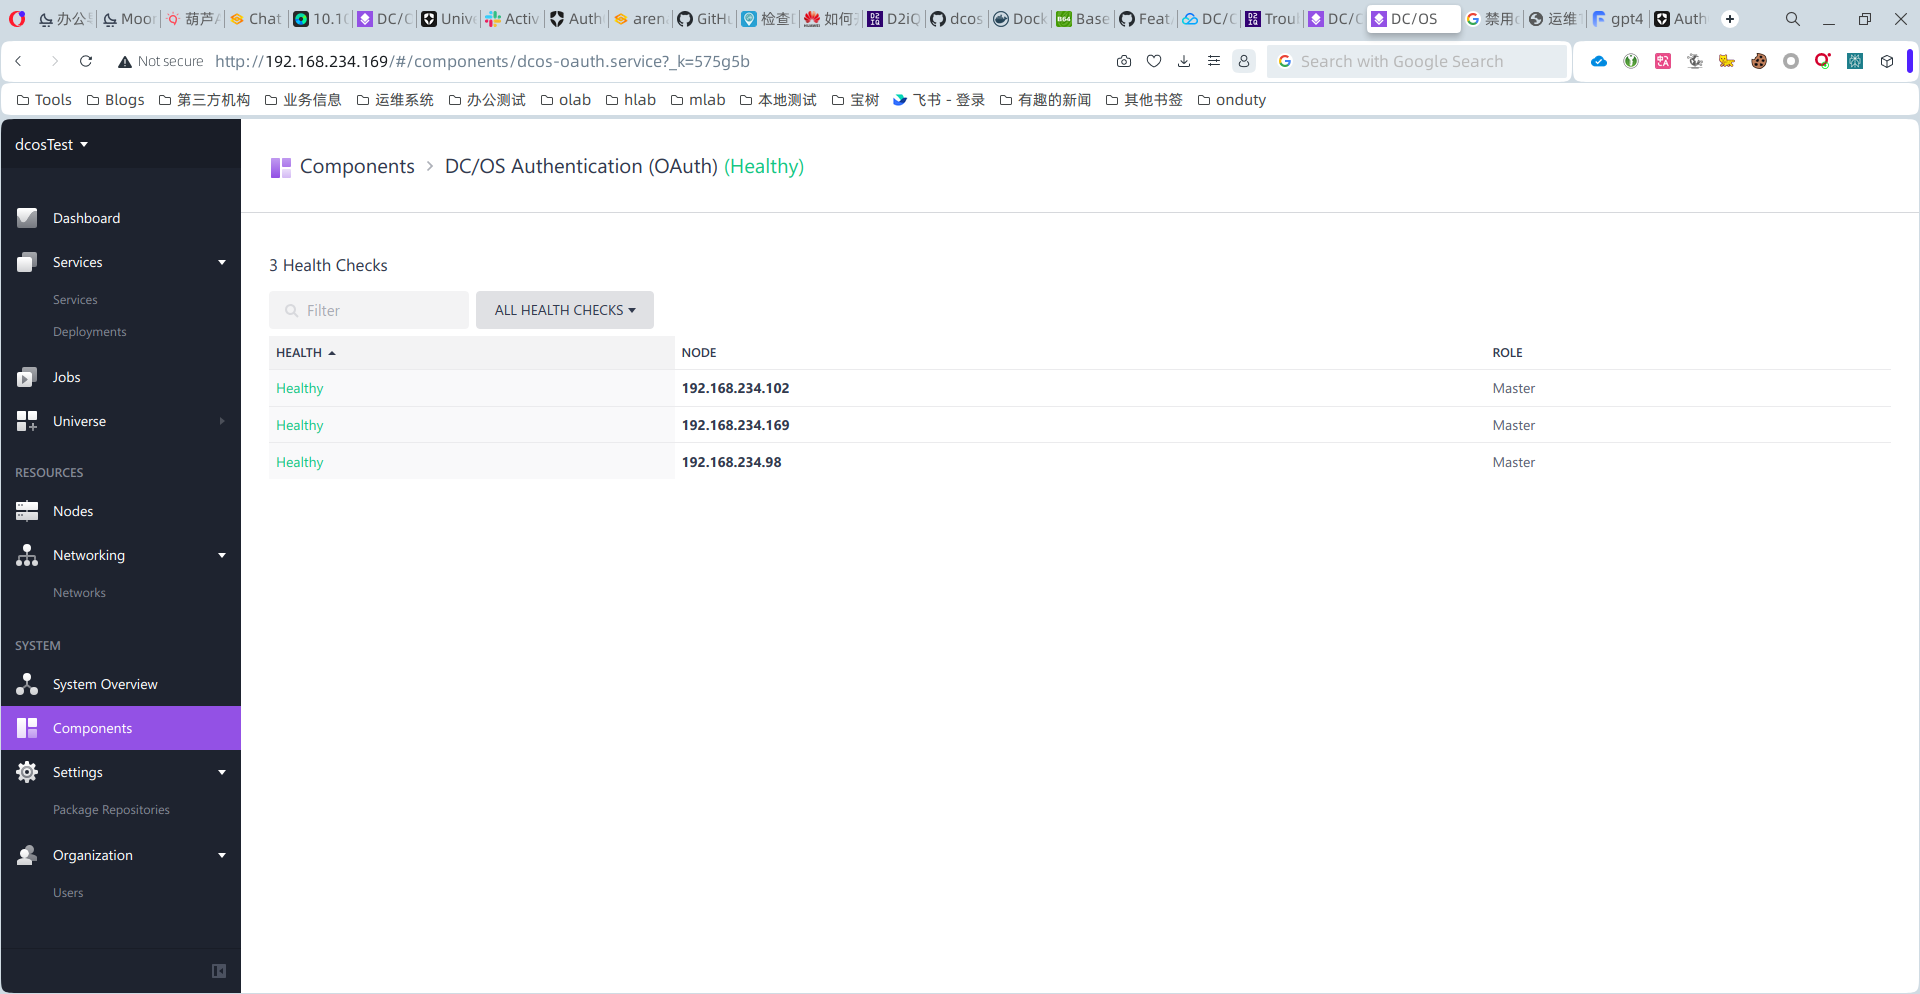
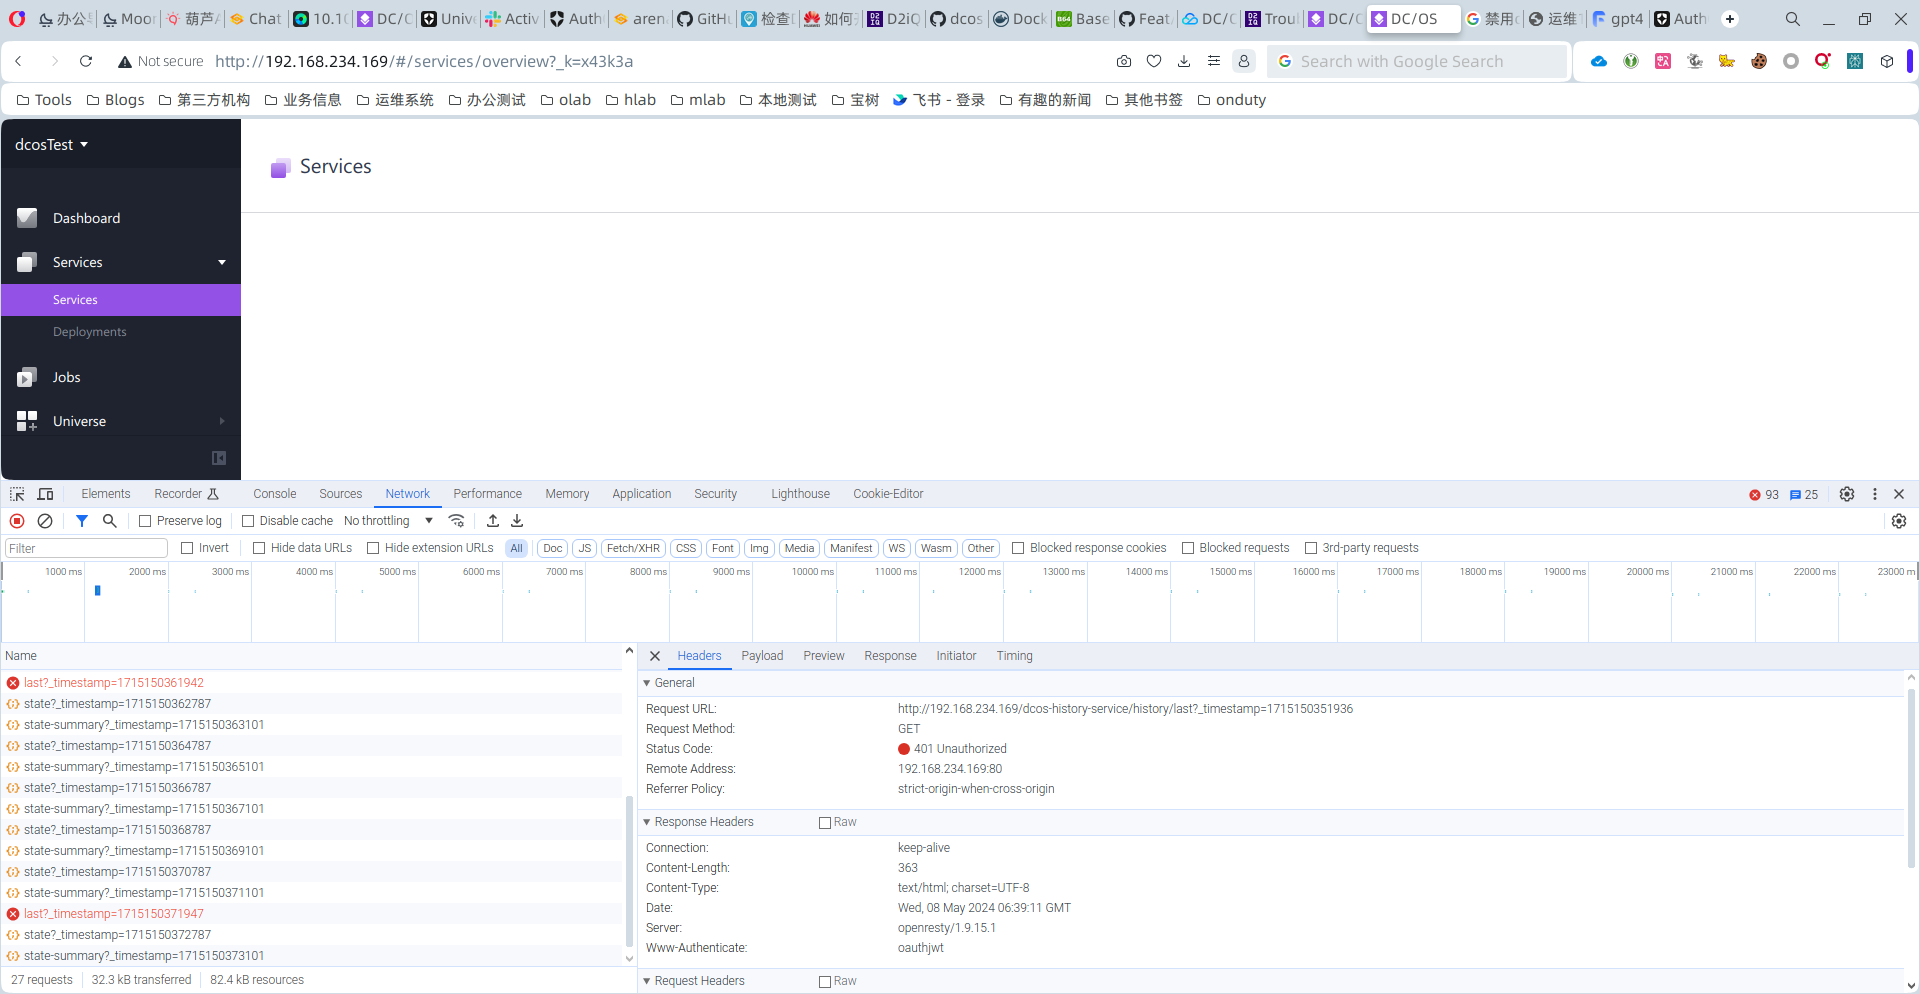
既然增加DCOS master节点 不行,是否可以将已有的节点改造成oauth false呢?
2.4 重装已有DCOS master节点
2024-05-08T08:04:19.png
关闭了刚刚建立的master4和master5节点。
并且安装了DCOS SLAVE节点1台,用于稍后查看集群相关信息,看看集群是否还在正常运行。
按照之前的配置,重装了1台,2台,页面可以查看,但是报告503无法查看service。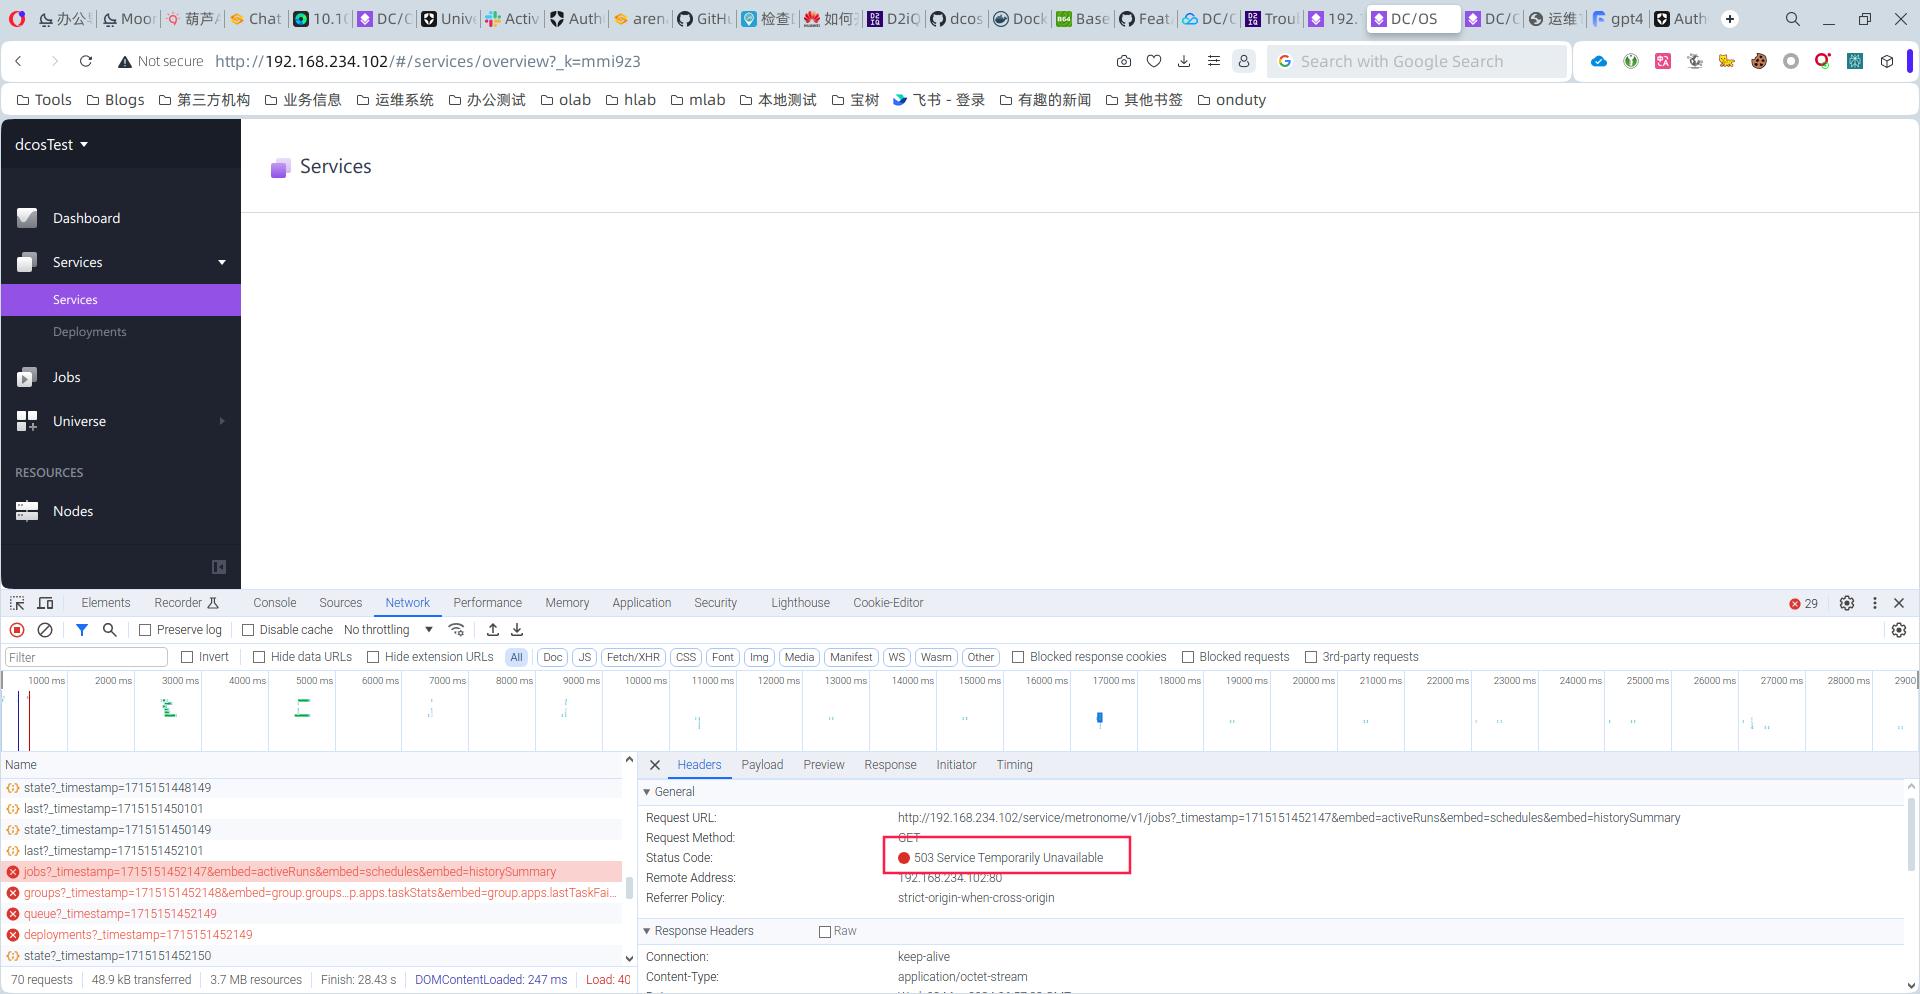
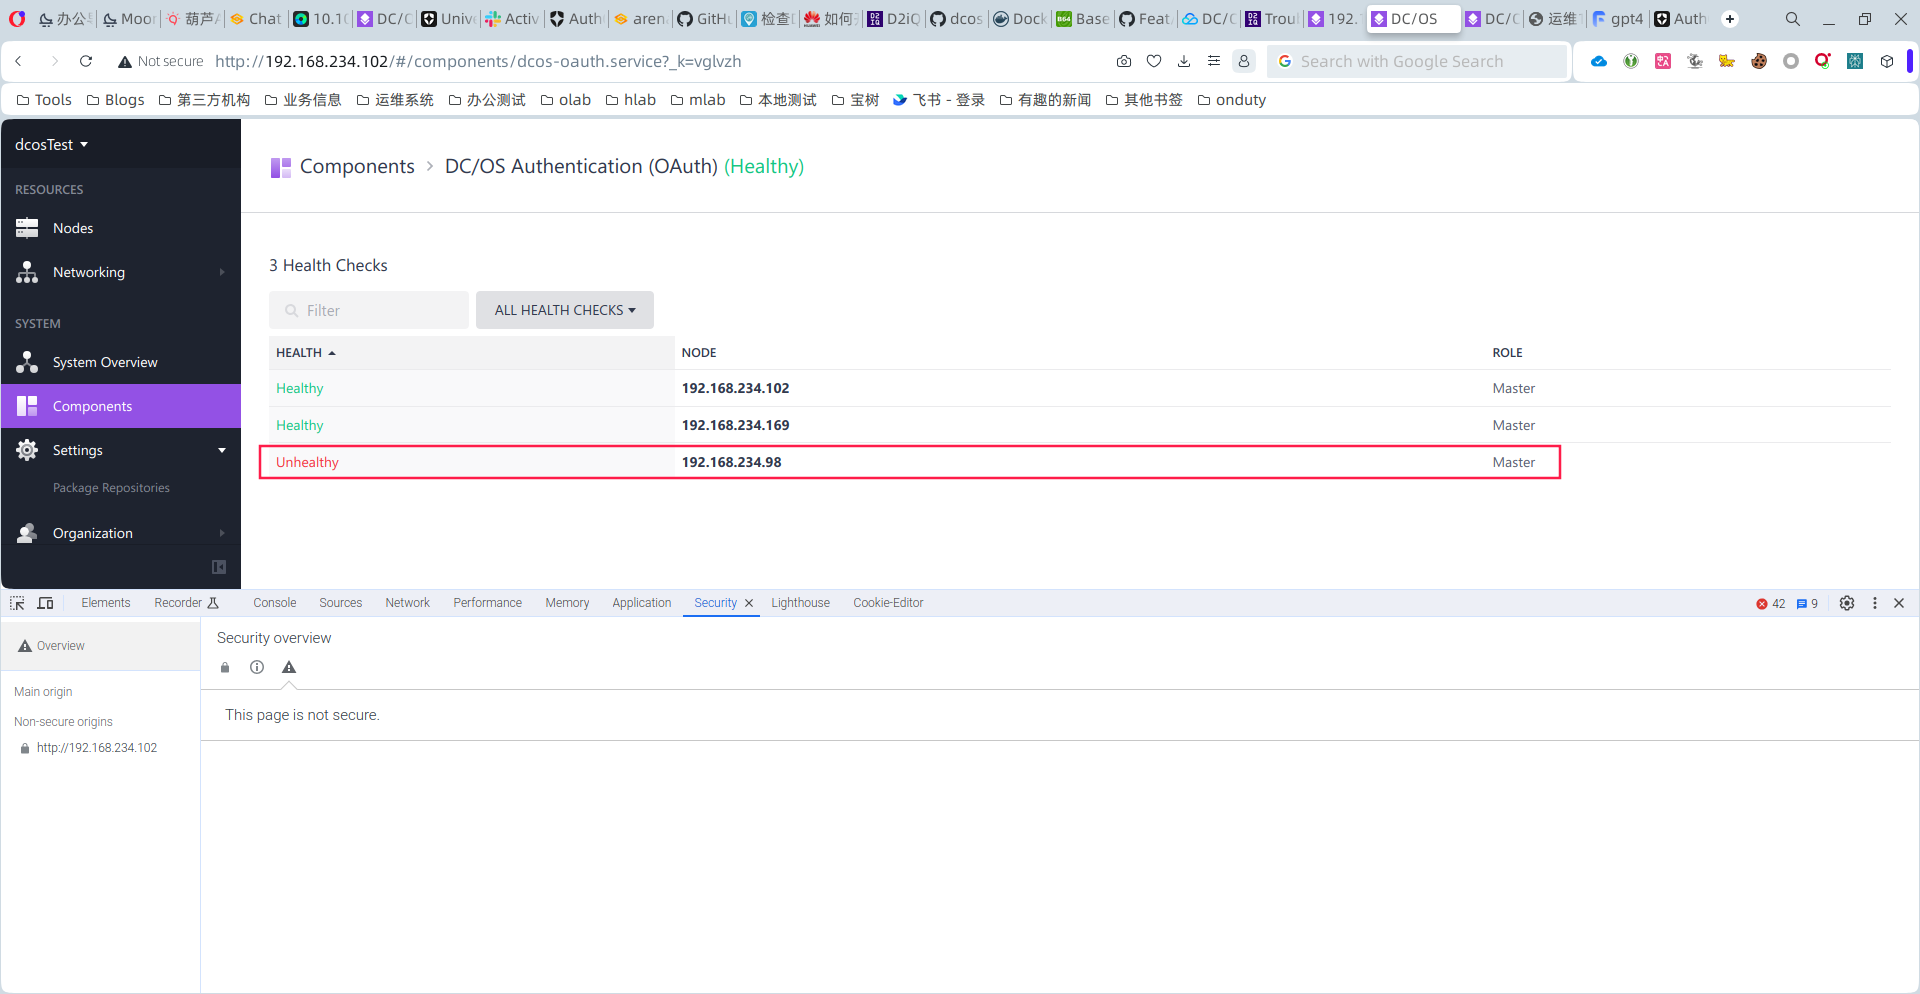
干脆最后把3个master节点全部重装了,发现还是有问题。
最后,全部先后重启了master1 master2 master3 三个节点后,经过一段时间,居然可以了。
无需oauth认证登录,各类信息都可以查看,且slave节点还在。
2.5 重装麻烦 是否有文件中有oauth相关的配置呢
这个文件在/opt/mesosphere/etc/expanded.config.json。
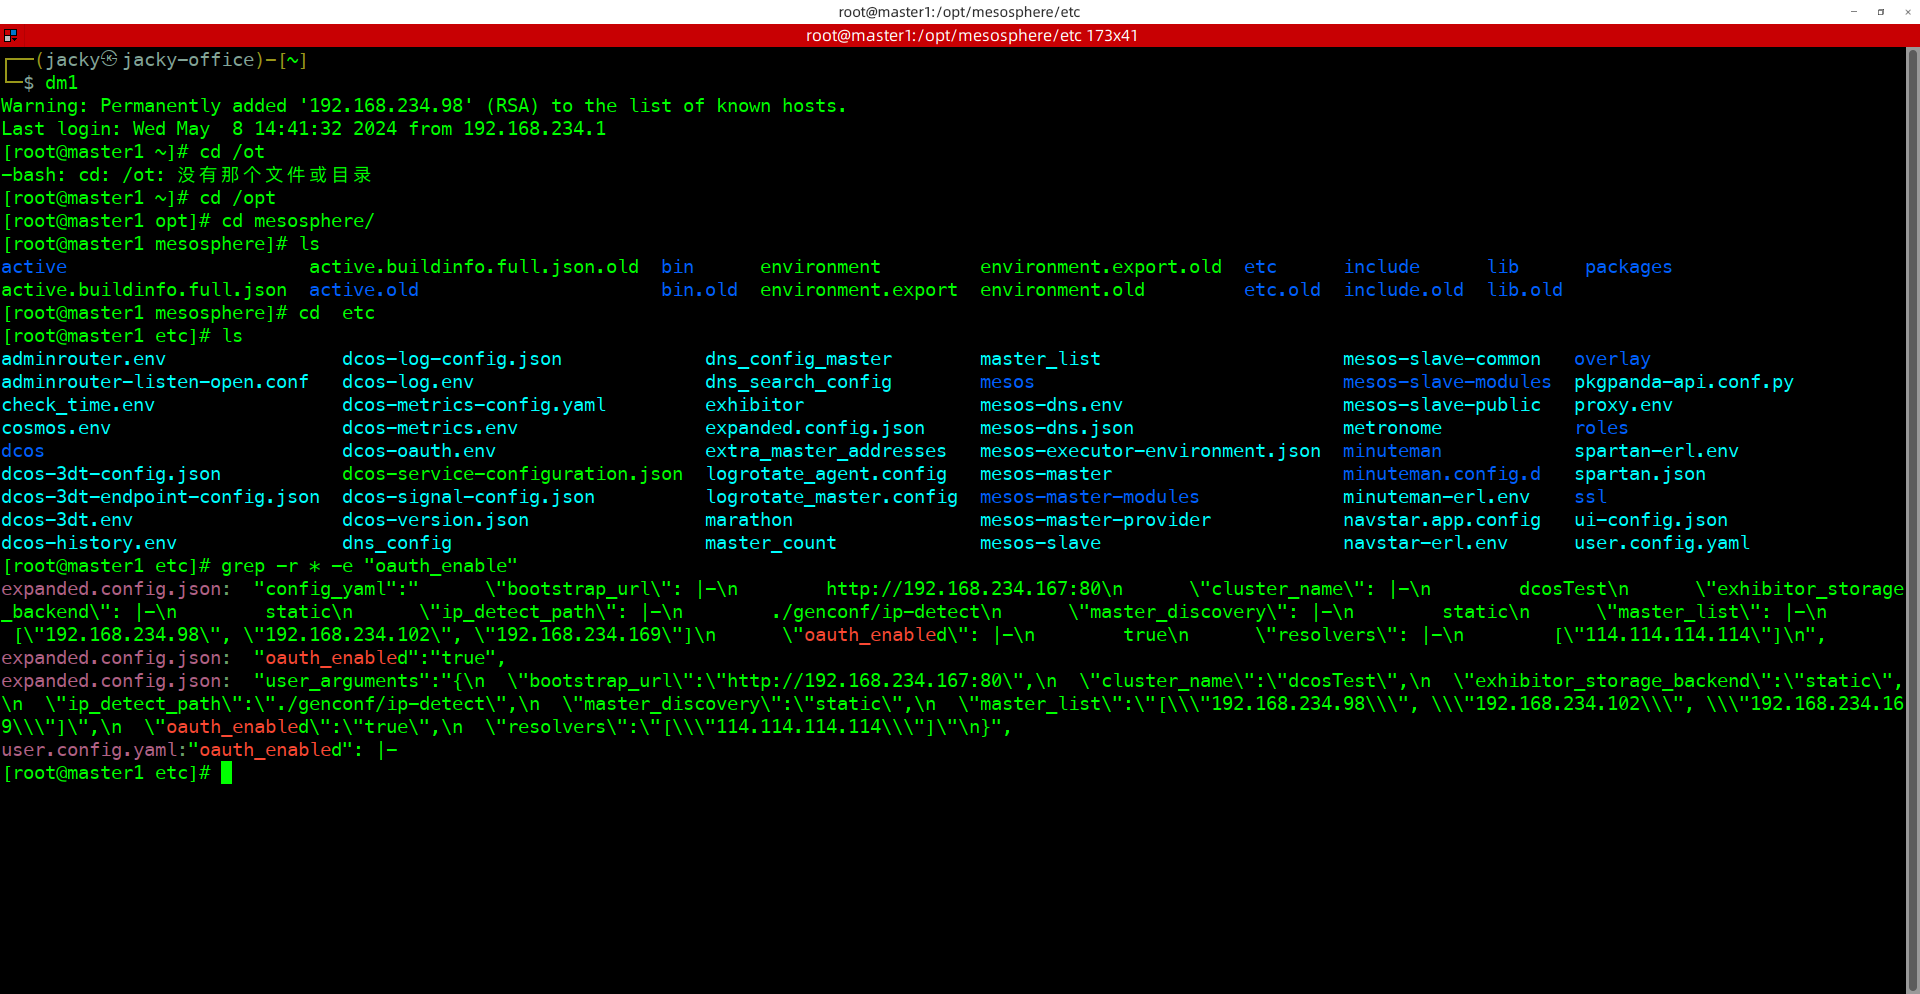
稍后需要再次进行验证。
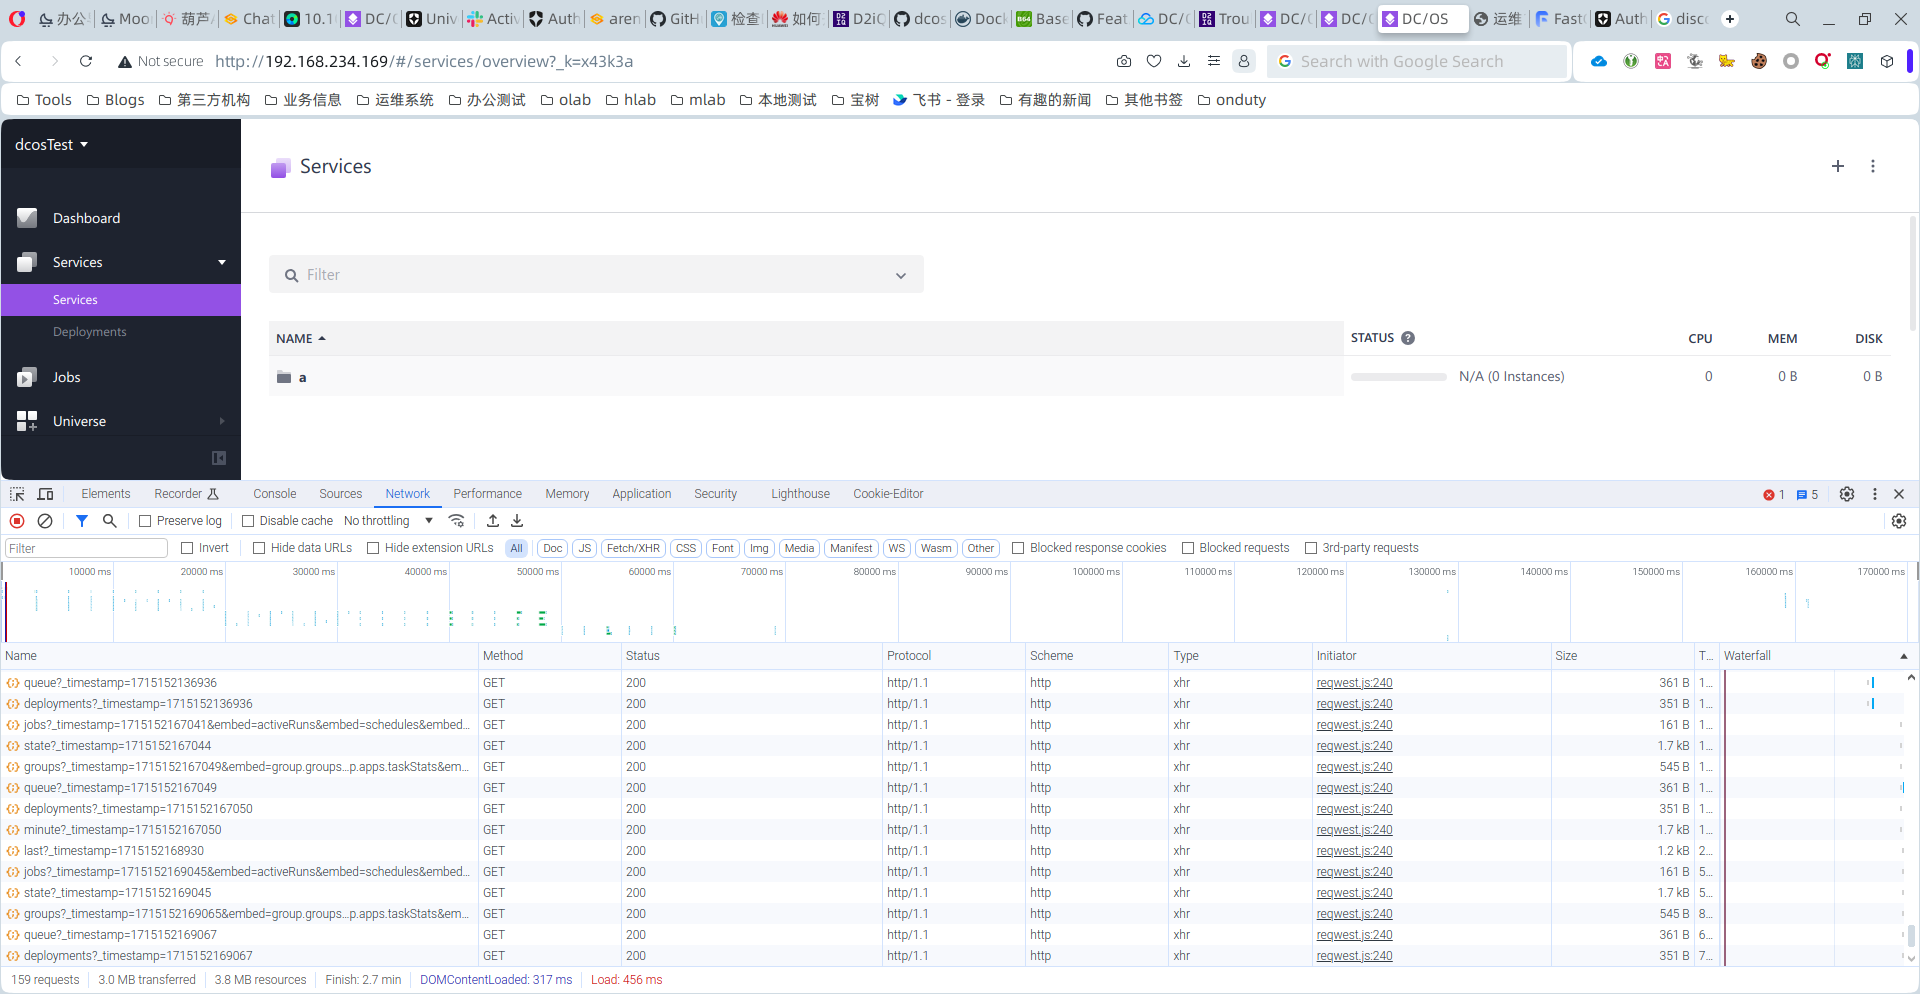
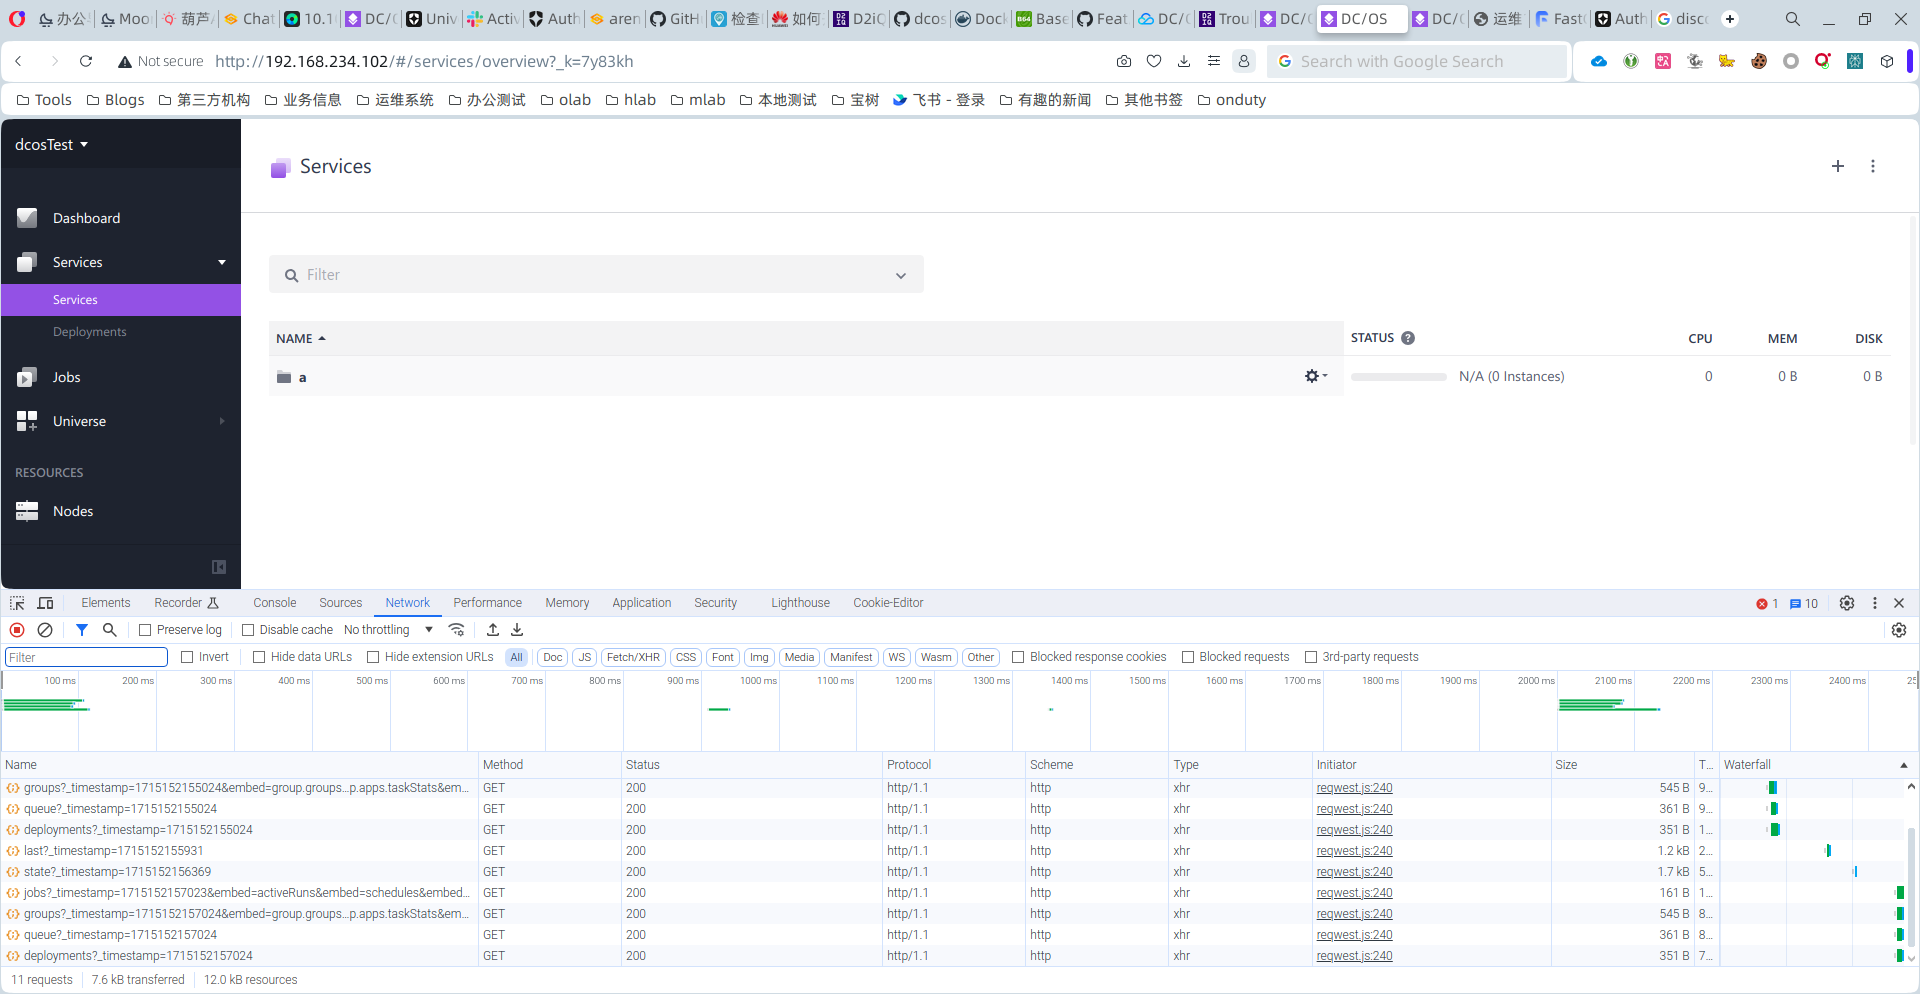
三、感谢shatten提出的pactching method
At the time to go home, I checked the auth0.com fourm and the slack channel. I saw that shatten used the paching method to patch the cluster.
I made a simple test that with the three master nodes which used oauth_enabled for true. And follow the instructures and shatten's said.
# on bootstrap, change the genconf/config.yml with oauth_enabled to false, and execute the following command
/opt/dcos/dcos_generate_config.sh --generate-node-upgrade-script 1.9.1

# on the master nodes, execute
wget http://192.168.234.167/upgrade/2391cde167f6489da8f60bc4e07bd466/dcos_node_upgrade.sh -O dcos_node_upgrade.sh
bash dcos_node_upgrade.sh
At the result, it works.
Amazzing. Thx for shatten's work.
And I also made a simple video record below.
四、Test with workload
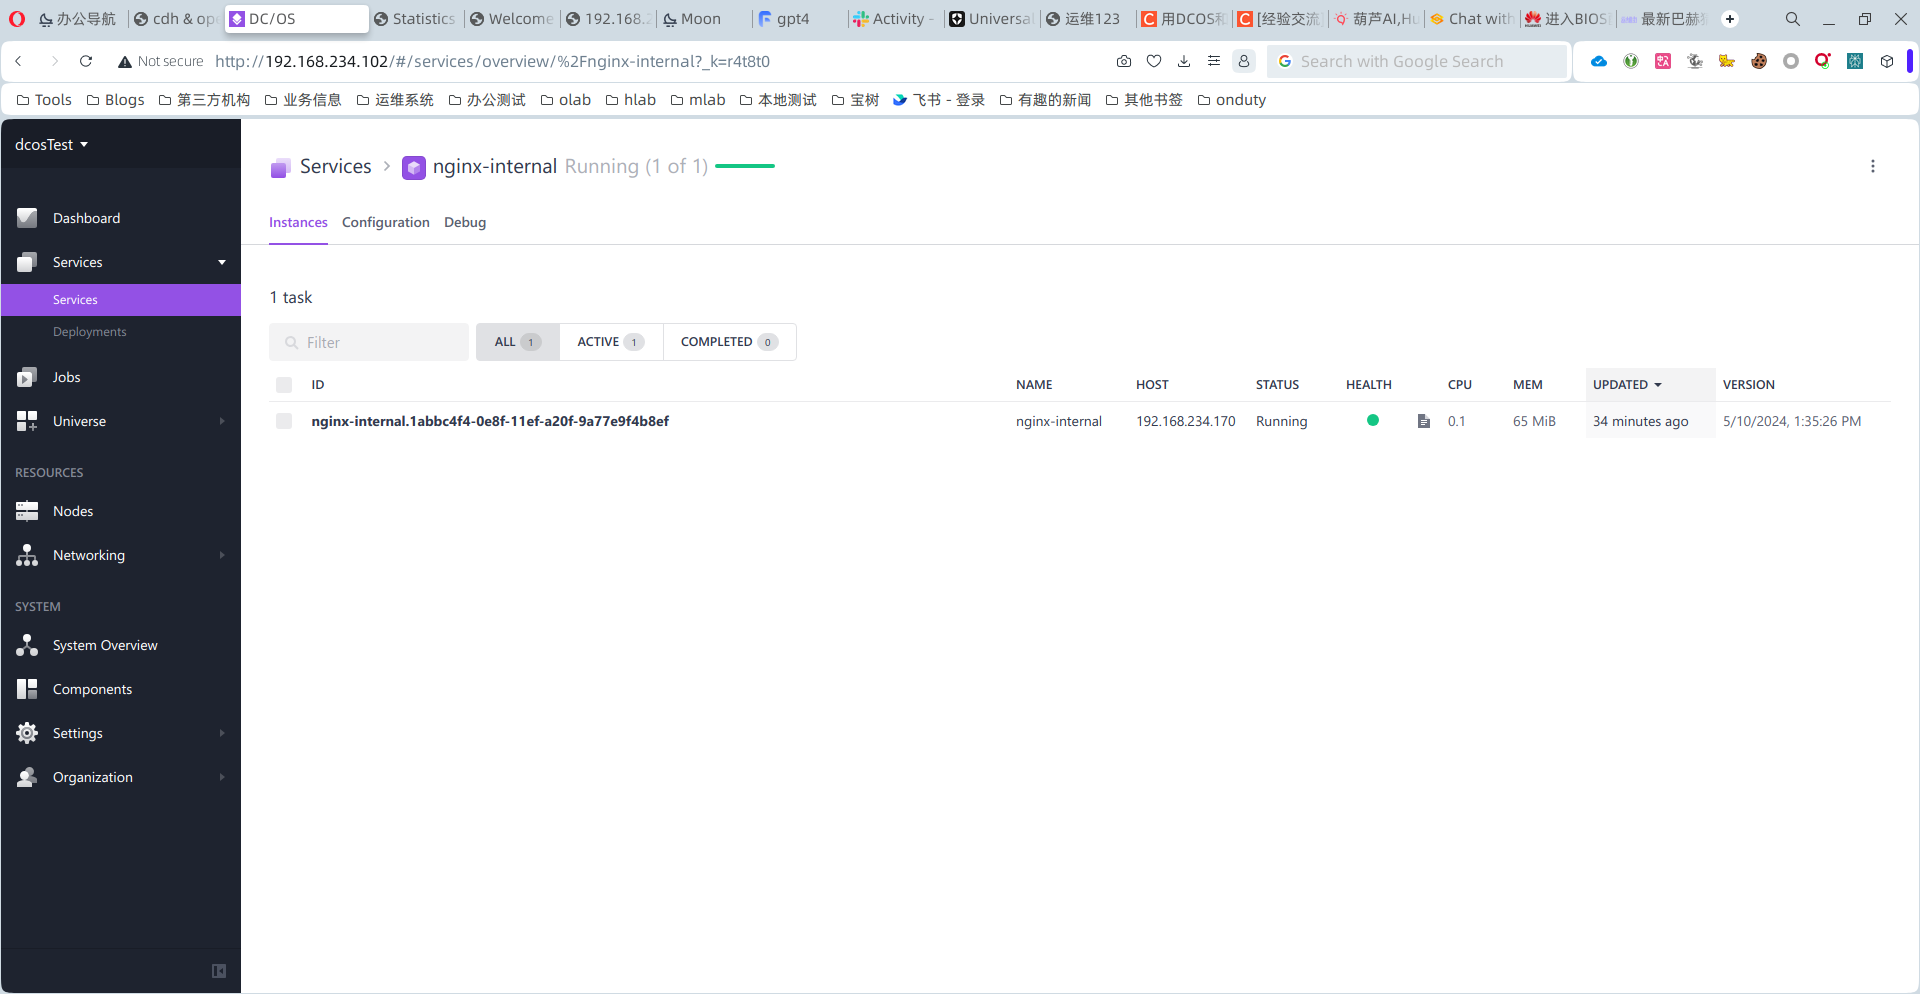
At the time 05/10, extend the dcos cluster with one slave and slave_public nodes, running with some nginx and marathon-lb workload.
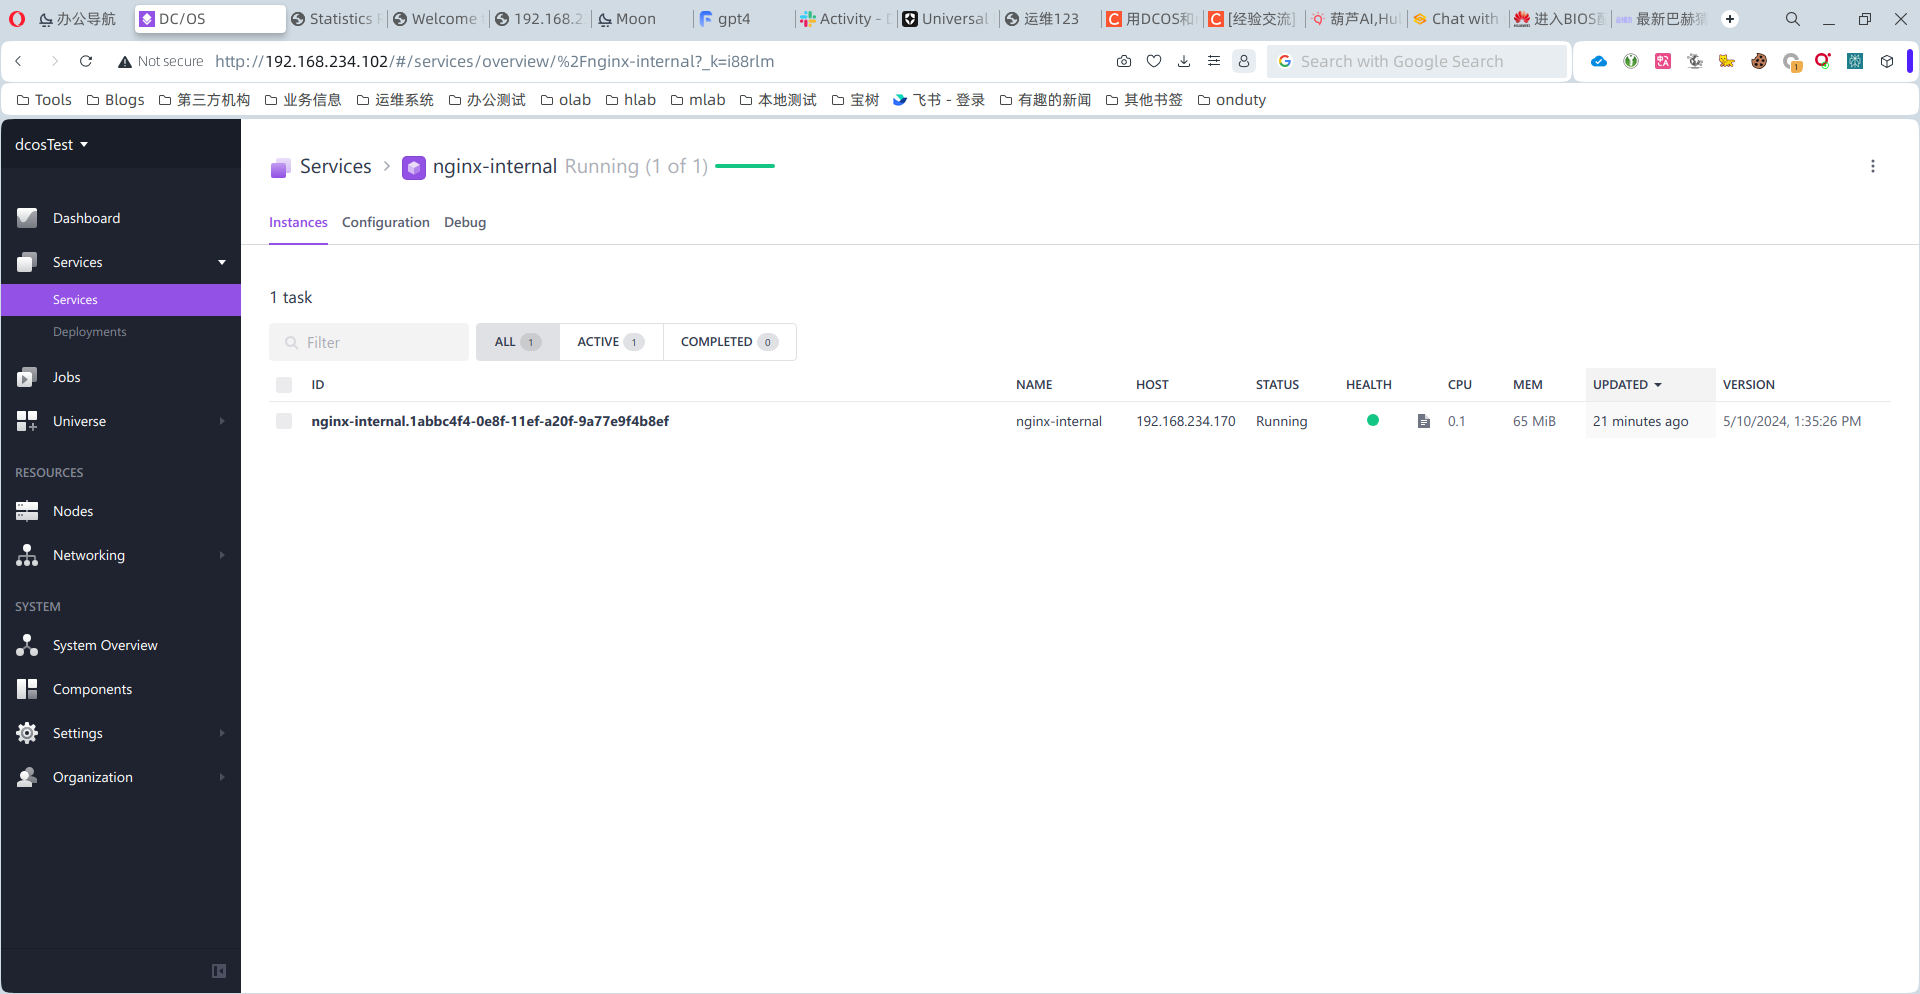
Using the method above chatper, config the oauth_enabled with true, watching the nginx workload status ok.
And then, config the oauthh_enabled with false, watching the nginx workload status ok. At the end of upgrade complete, the information about the workloads also in the cluster.
五、Make Upgrade Online
As the method above, I made the upgrade online, and it works fine.
But in the upgrade process.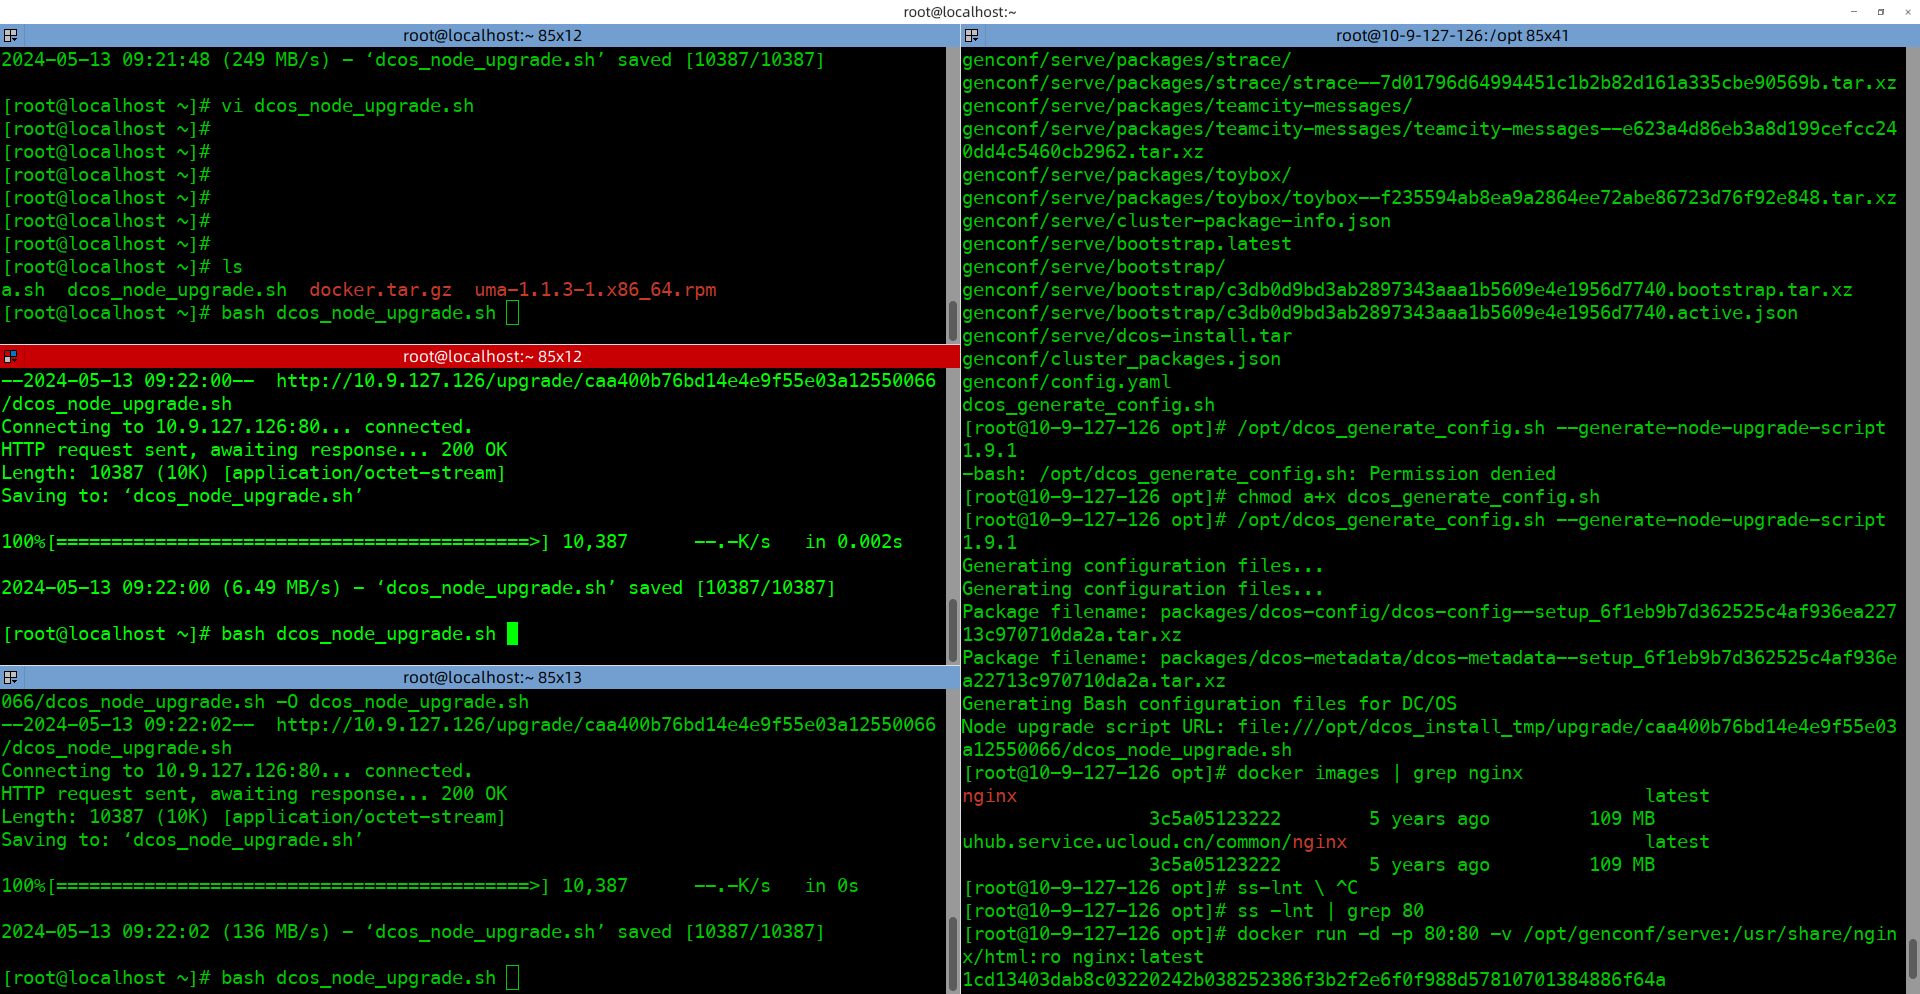
# 线上操作
# on bootstrap, change the genconf/config.yml with oauth_enabled to false, and execute the following command
/opt/dcos_generate_config.sh --generate-node-upgrade-script 1.9.1

# web server
docker run -d -p 80:80 -v /opt/genconf/serve:/usr/share/nginx/html:ro nginx:latest

# on the master nodes, execute
wget http://10.9.127.126:80/upgrade/caa400b76bd14e4e9f55e03a12550066/dcos_node_upgrade.sh -O dcos_node_upgrade.sh
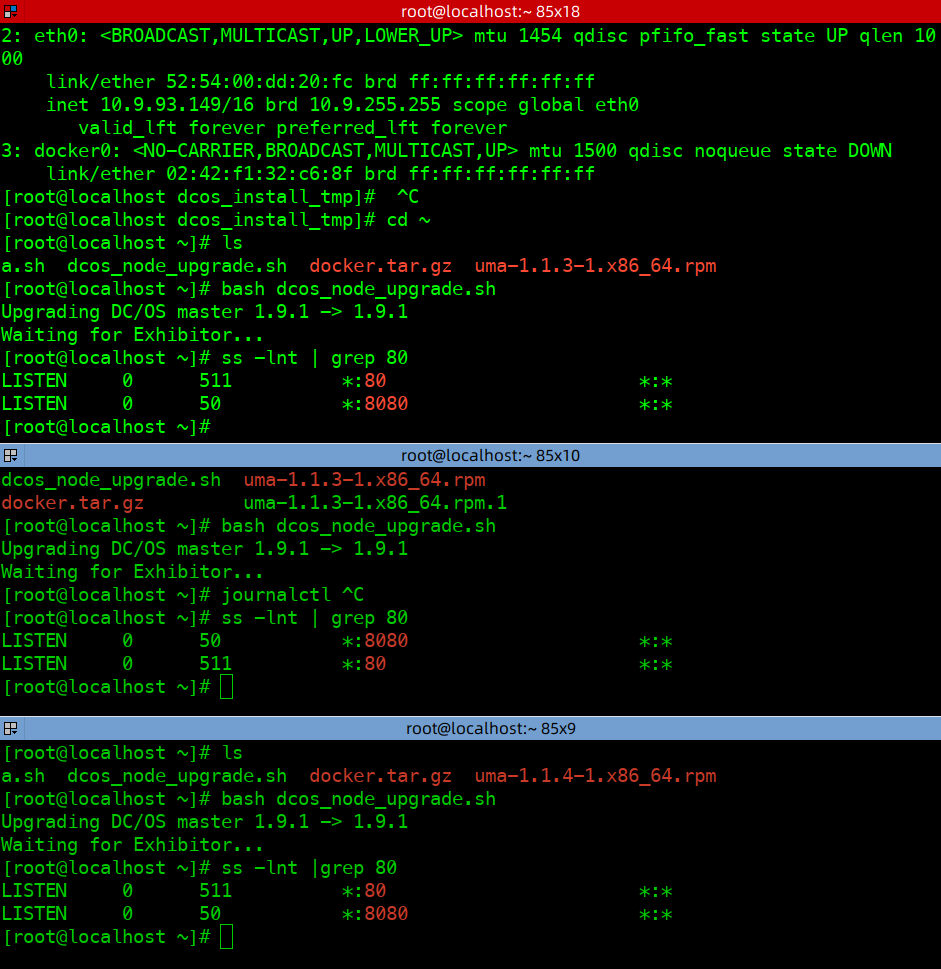
I met that there was no dcos_install_tmp on the dir /opt directory. With lucky, the files were under the bootstrap server. Just copy the bootstrap directoy to the master nodes.
# @bootstrap
ssh root@10.9.28.18 "mkdir /opt/dcos_install_tmp"
cd /opt/genconf/serve && scp -r packages root@10.9.28.18:/opt/dcos_install_tmp/
cd /opt/genconf/serve && scp -r bootstrap root@10.9.28.18:/opt/dcos_install_tmp/
At last, I used the ss command the check that the tcp 80 port was online.